2014 Custom Build

What was your intended objective when you started the build?

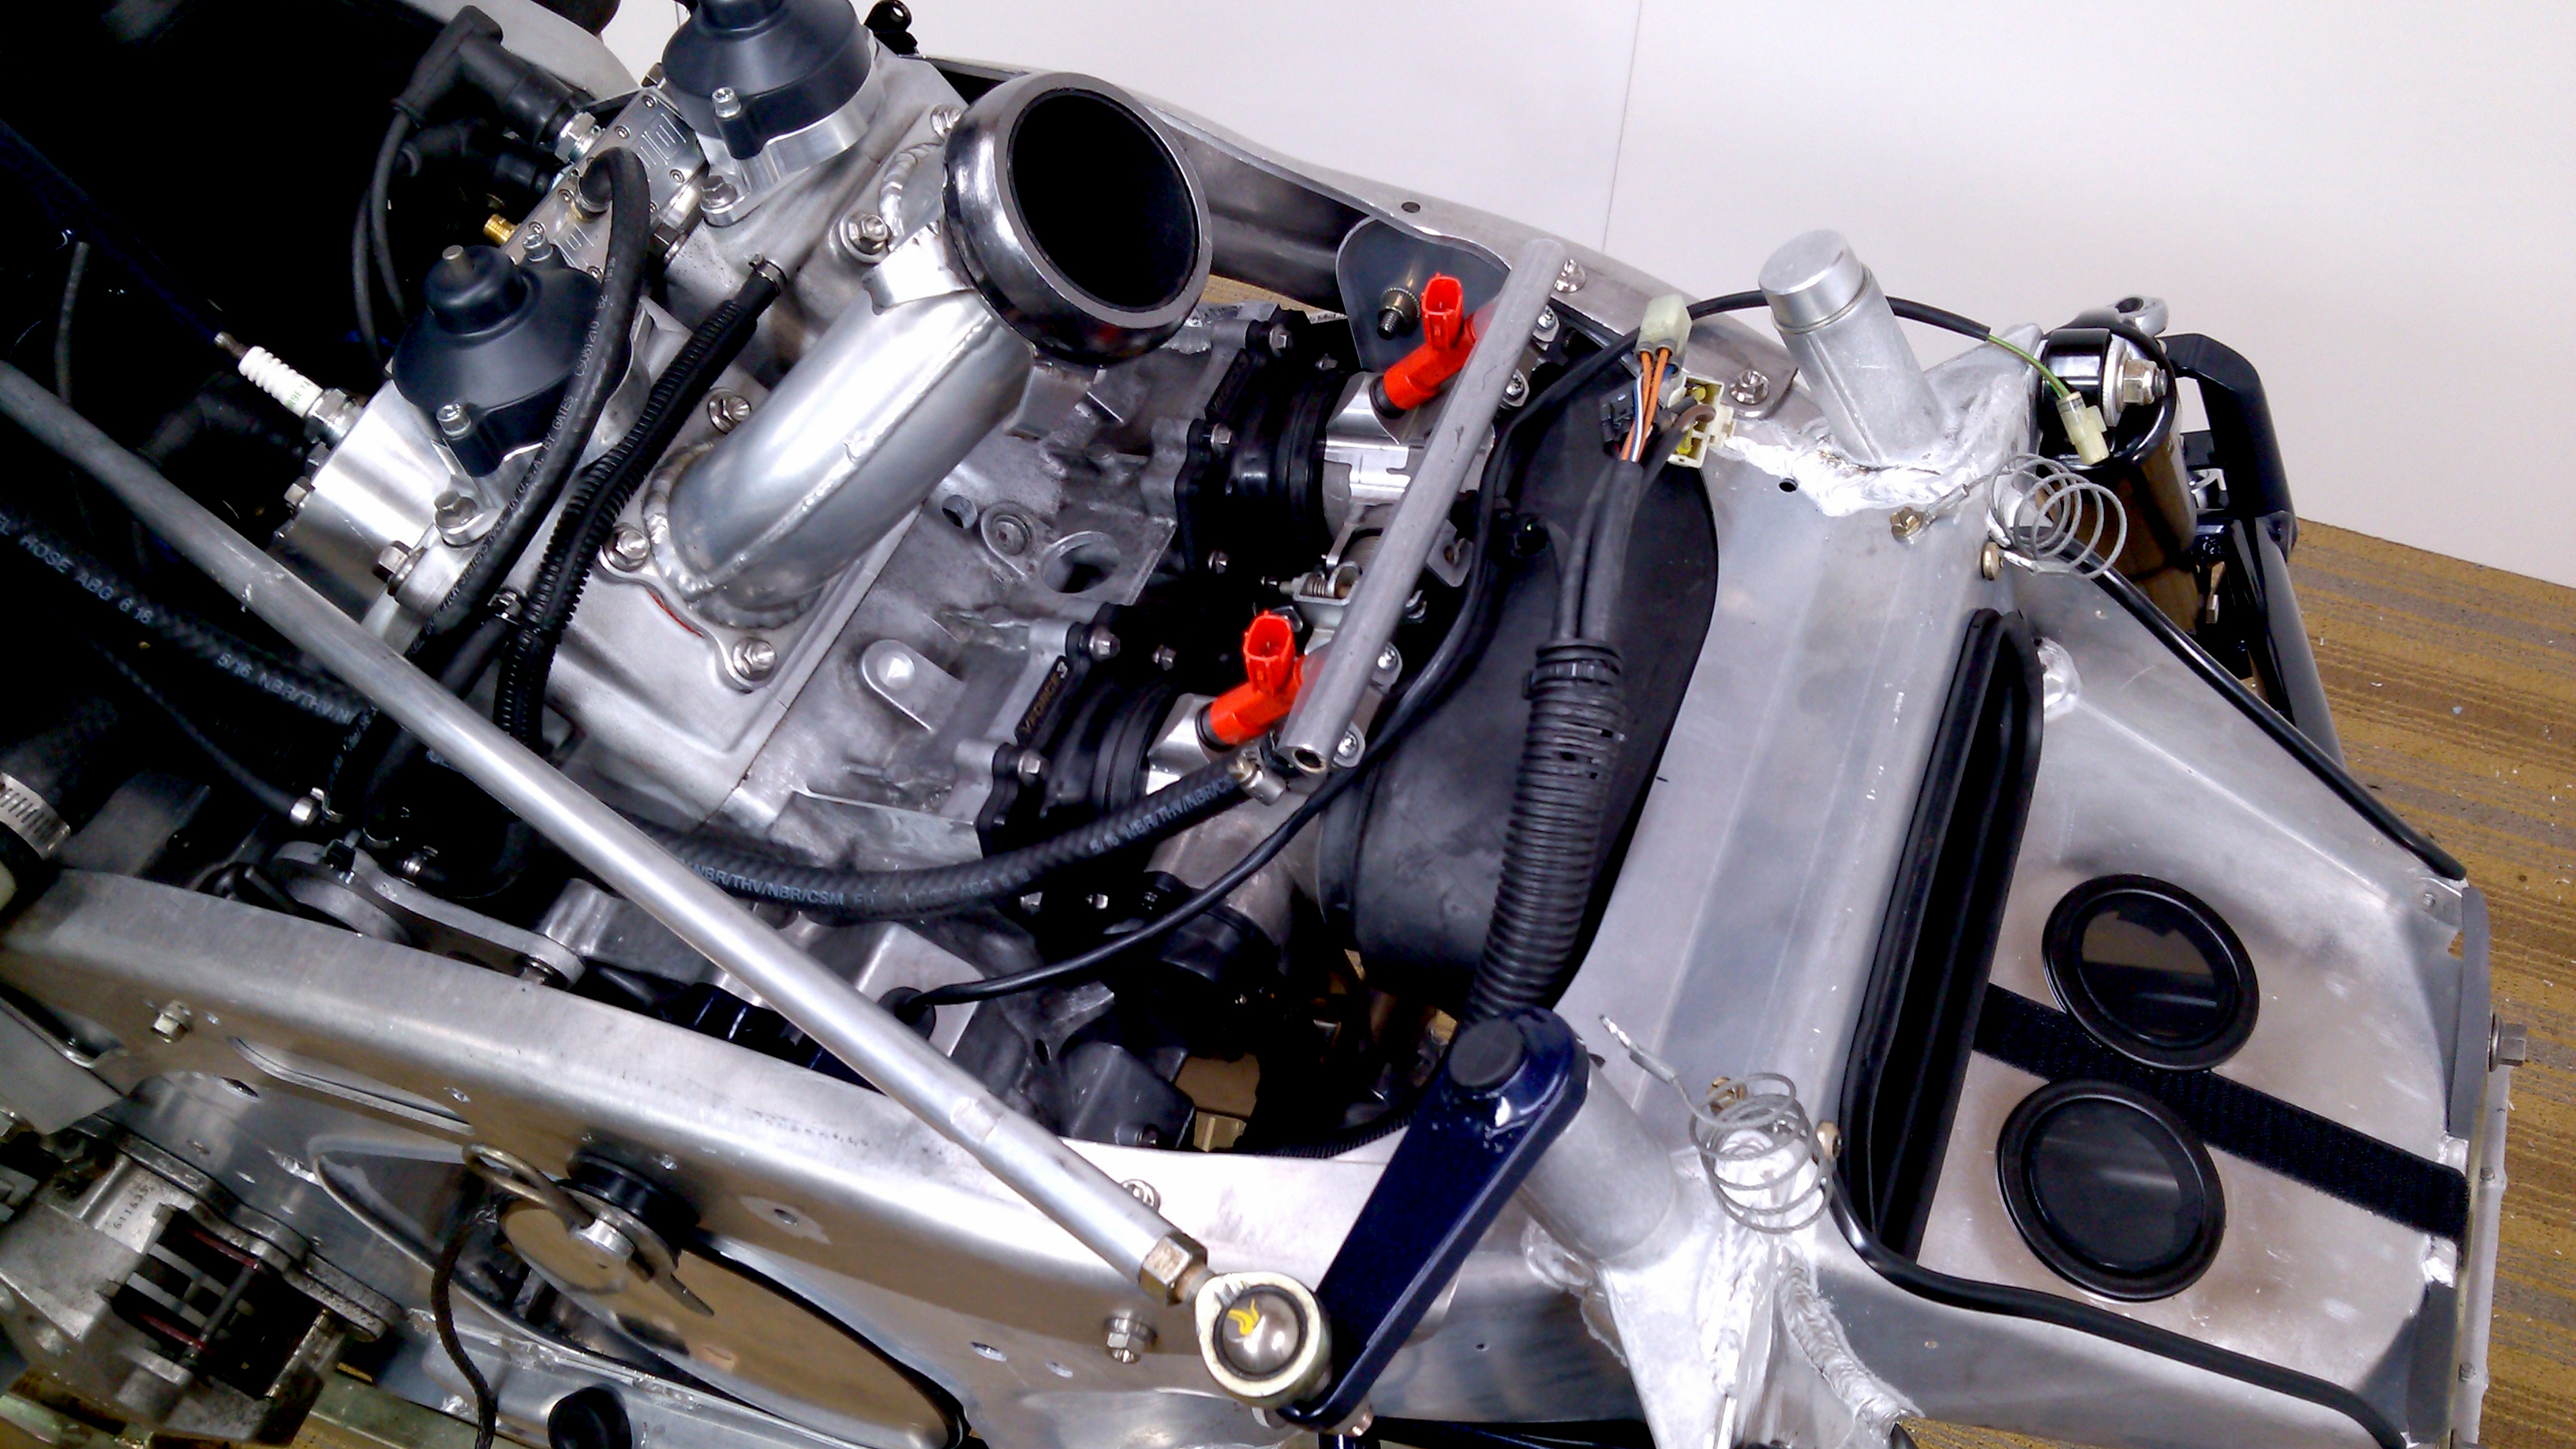
To break 200 horsepower on a naturally aspirated sled and be in the low 400’s on dry weight plus have show quality craftsmanship on the fit and finish.

What motivated you to start your project?

In January of 2011 on the last day of our trip to Cooke City, Montana I smoked a rock and ripped the front suspension out of the bulkhead. Then on the way through Chief Joseph Pass heading home the wind grabbed the trailer as we made a corner and rolled the trailer onto the guard rail which bent my tunnel. My 2007 M1000 was pretty much toast. I’ve always wanted to build a custom mountain sled, so i figured now is as good a time as any…

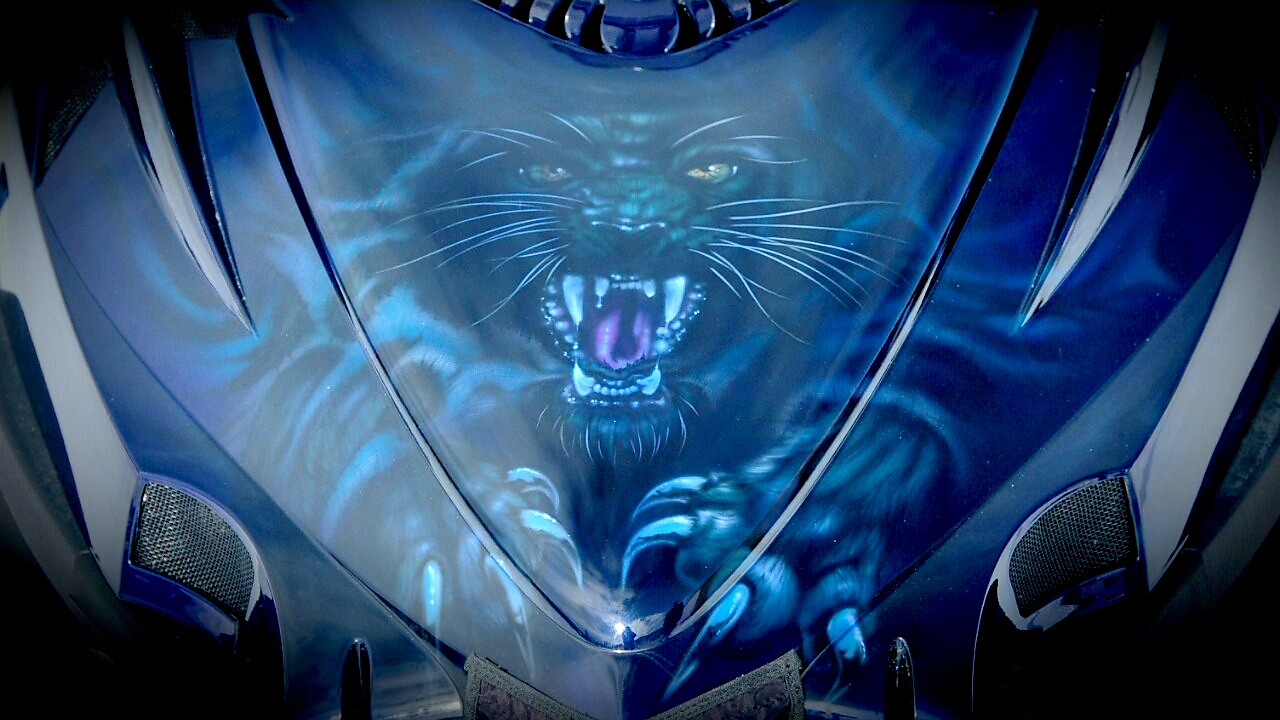
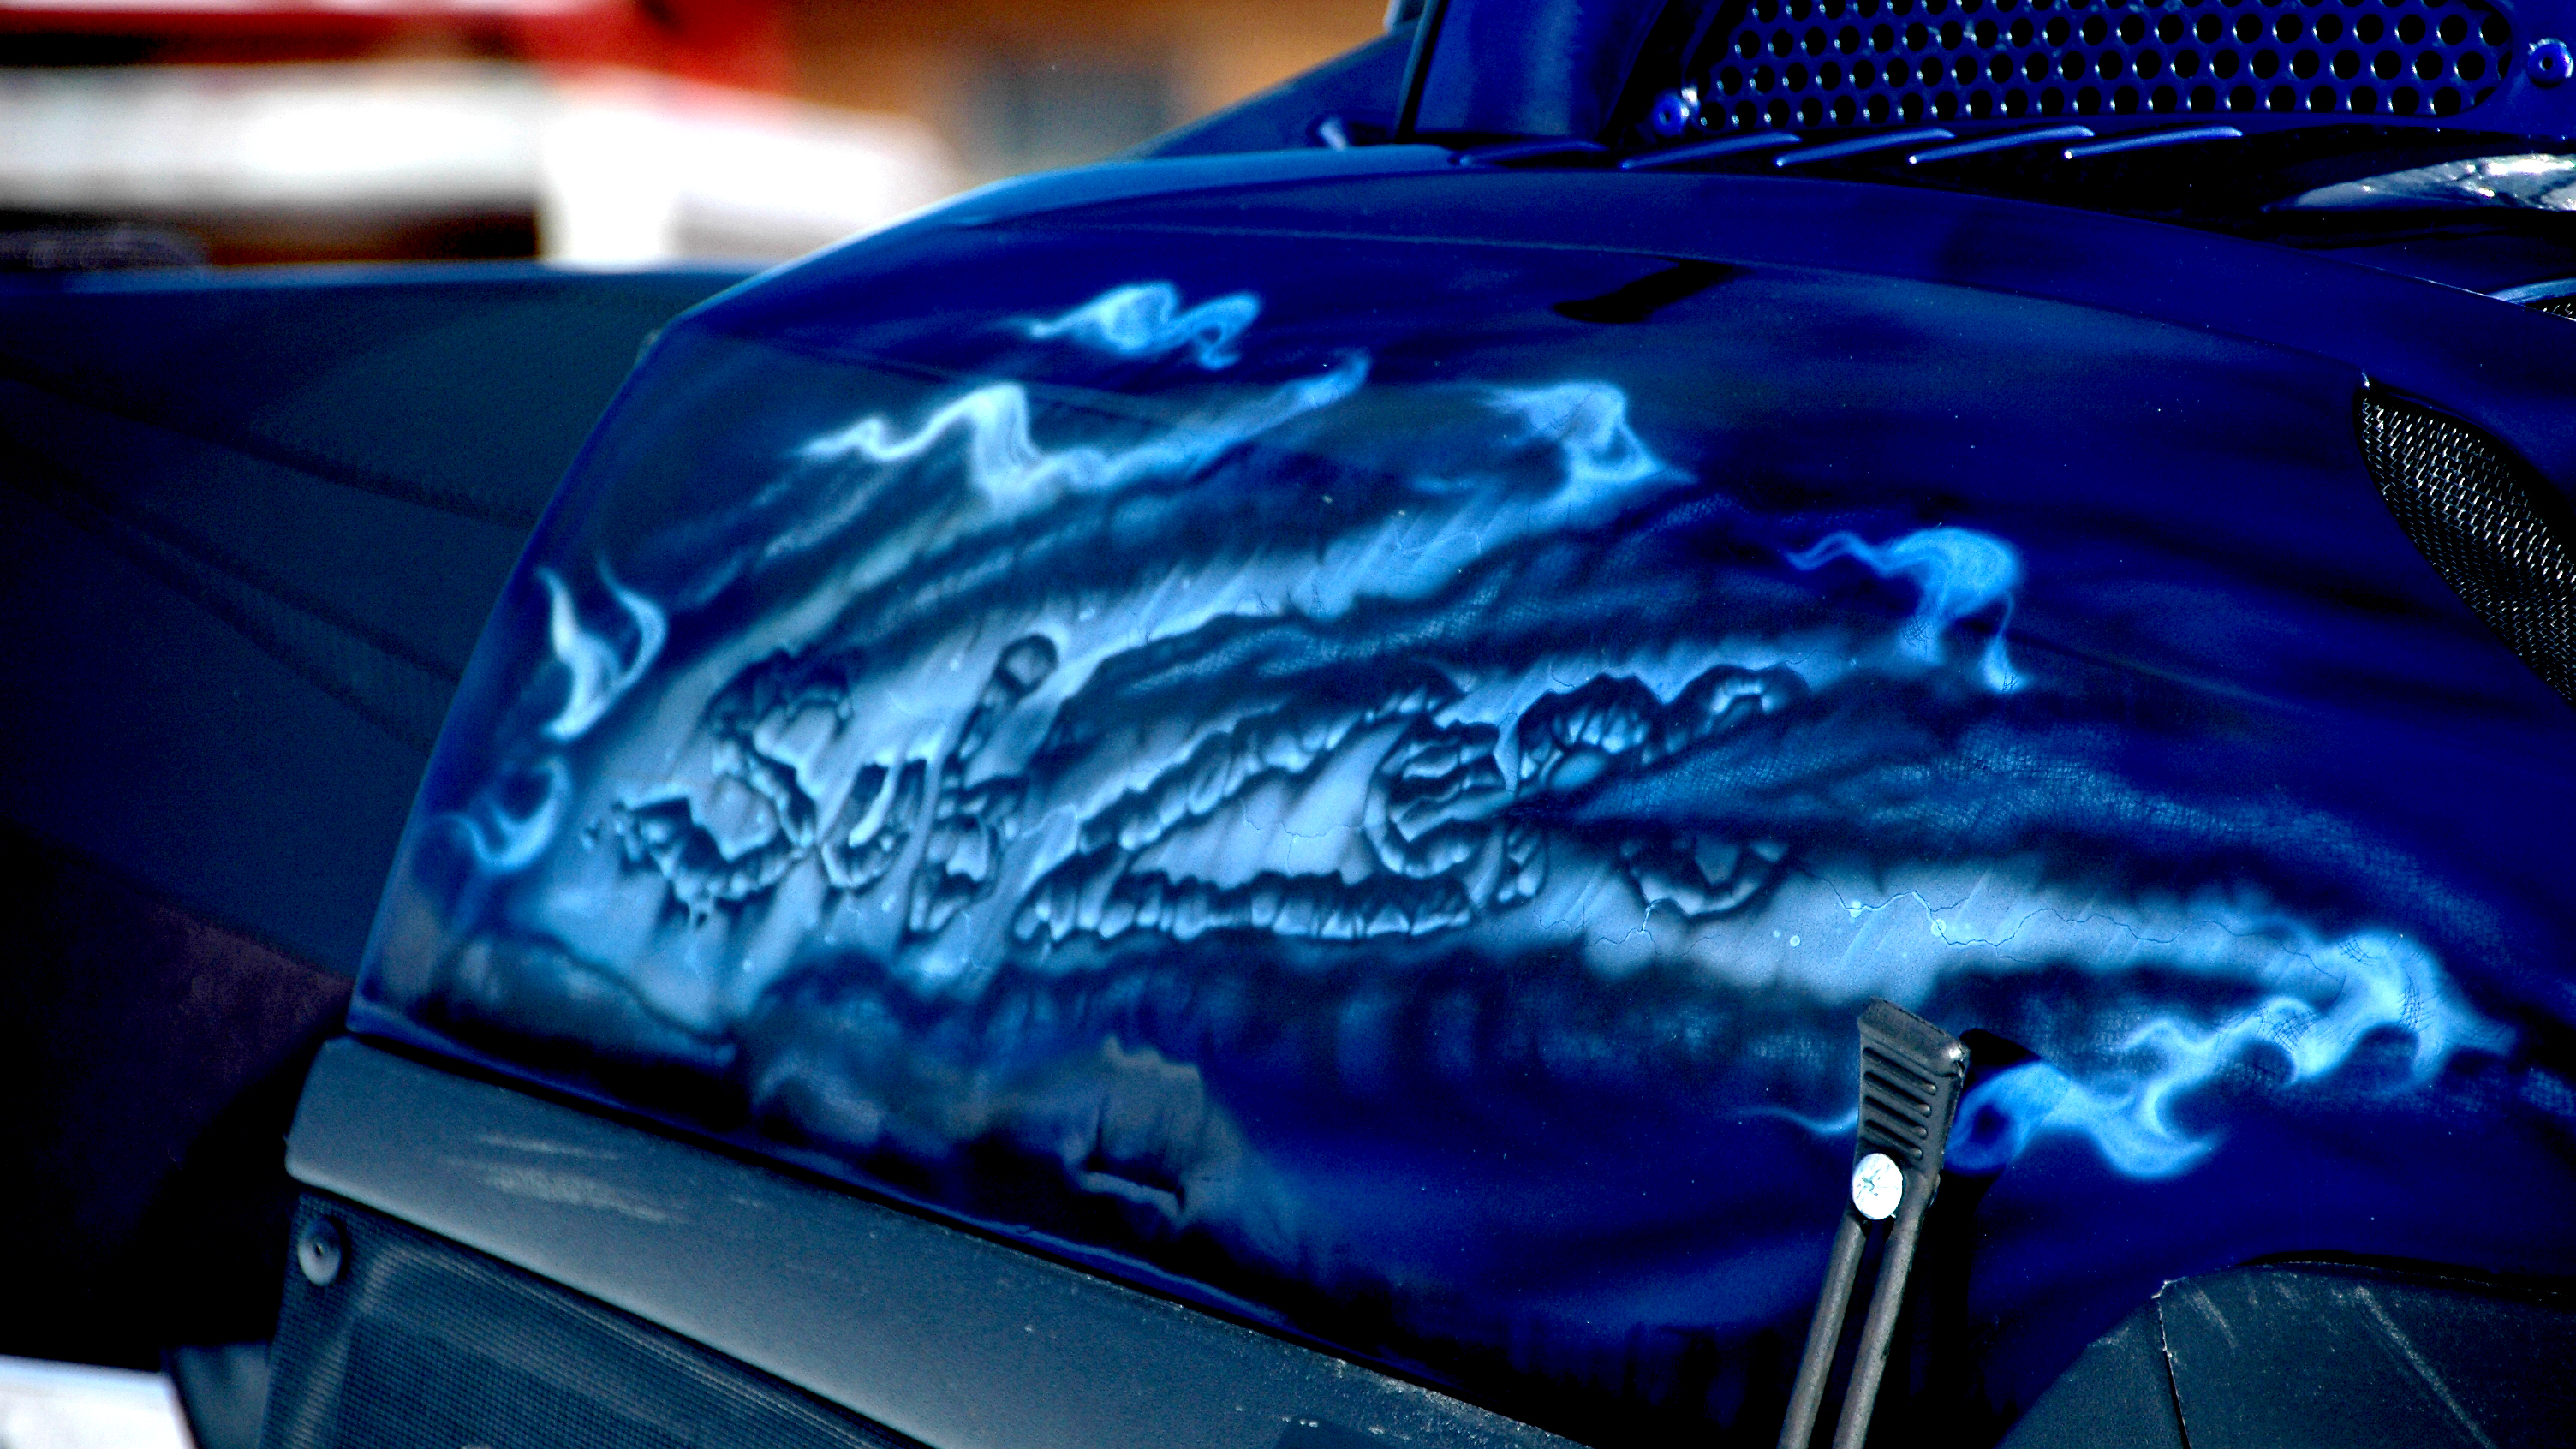
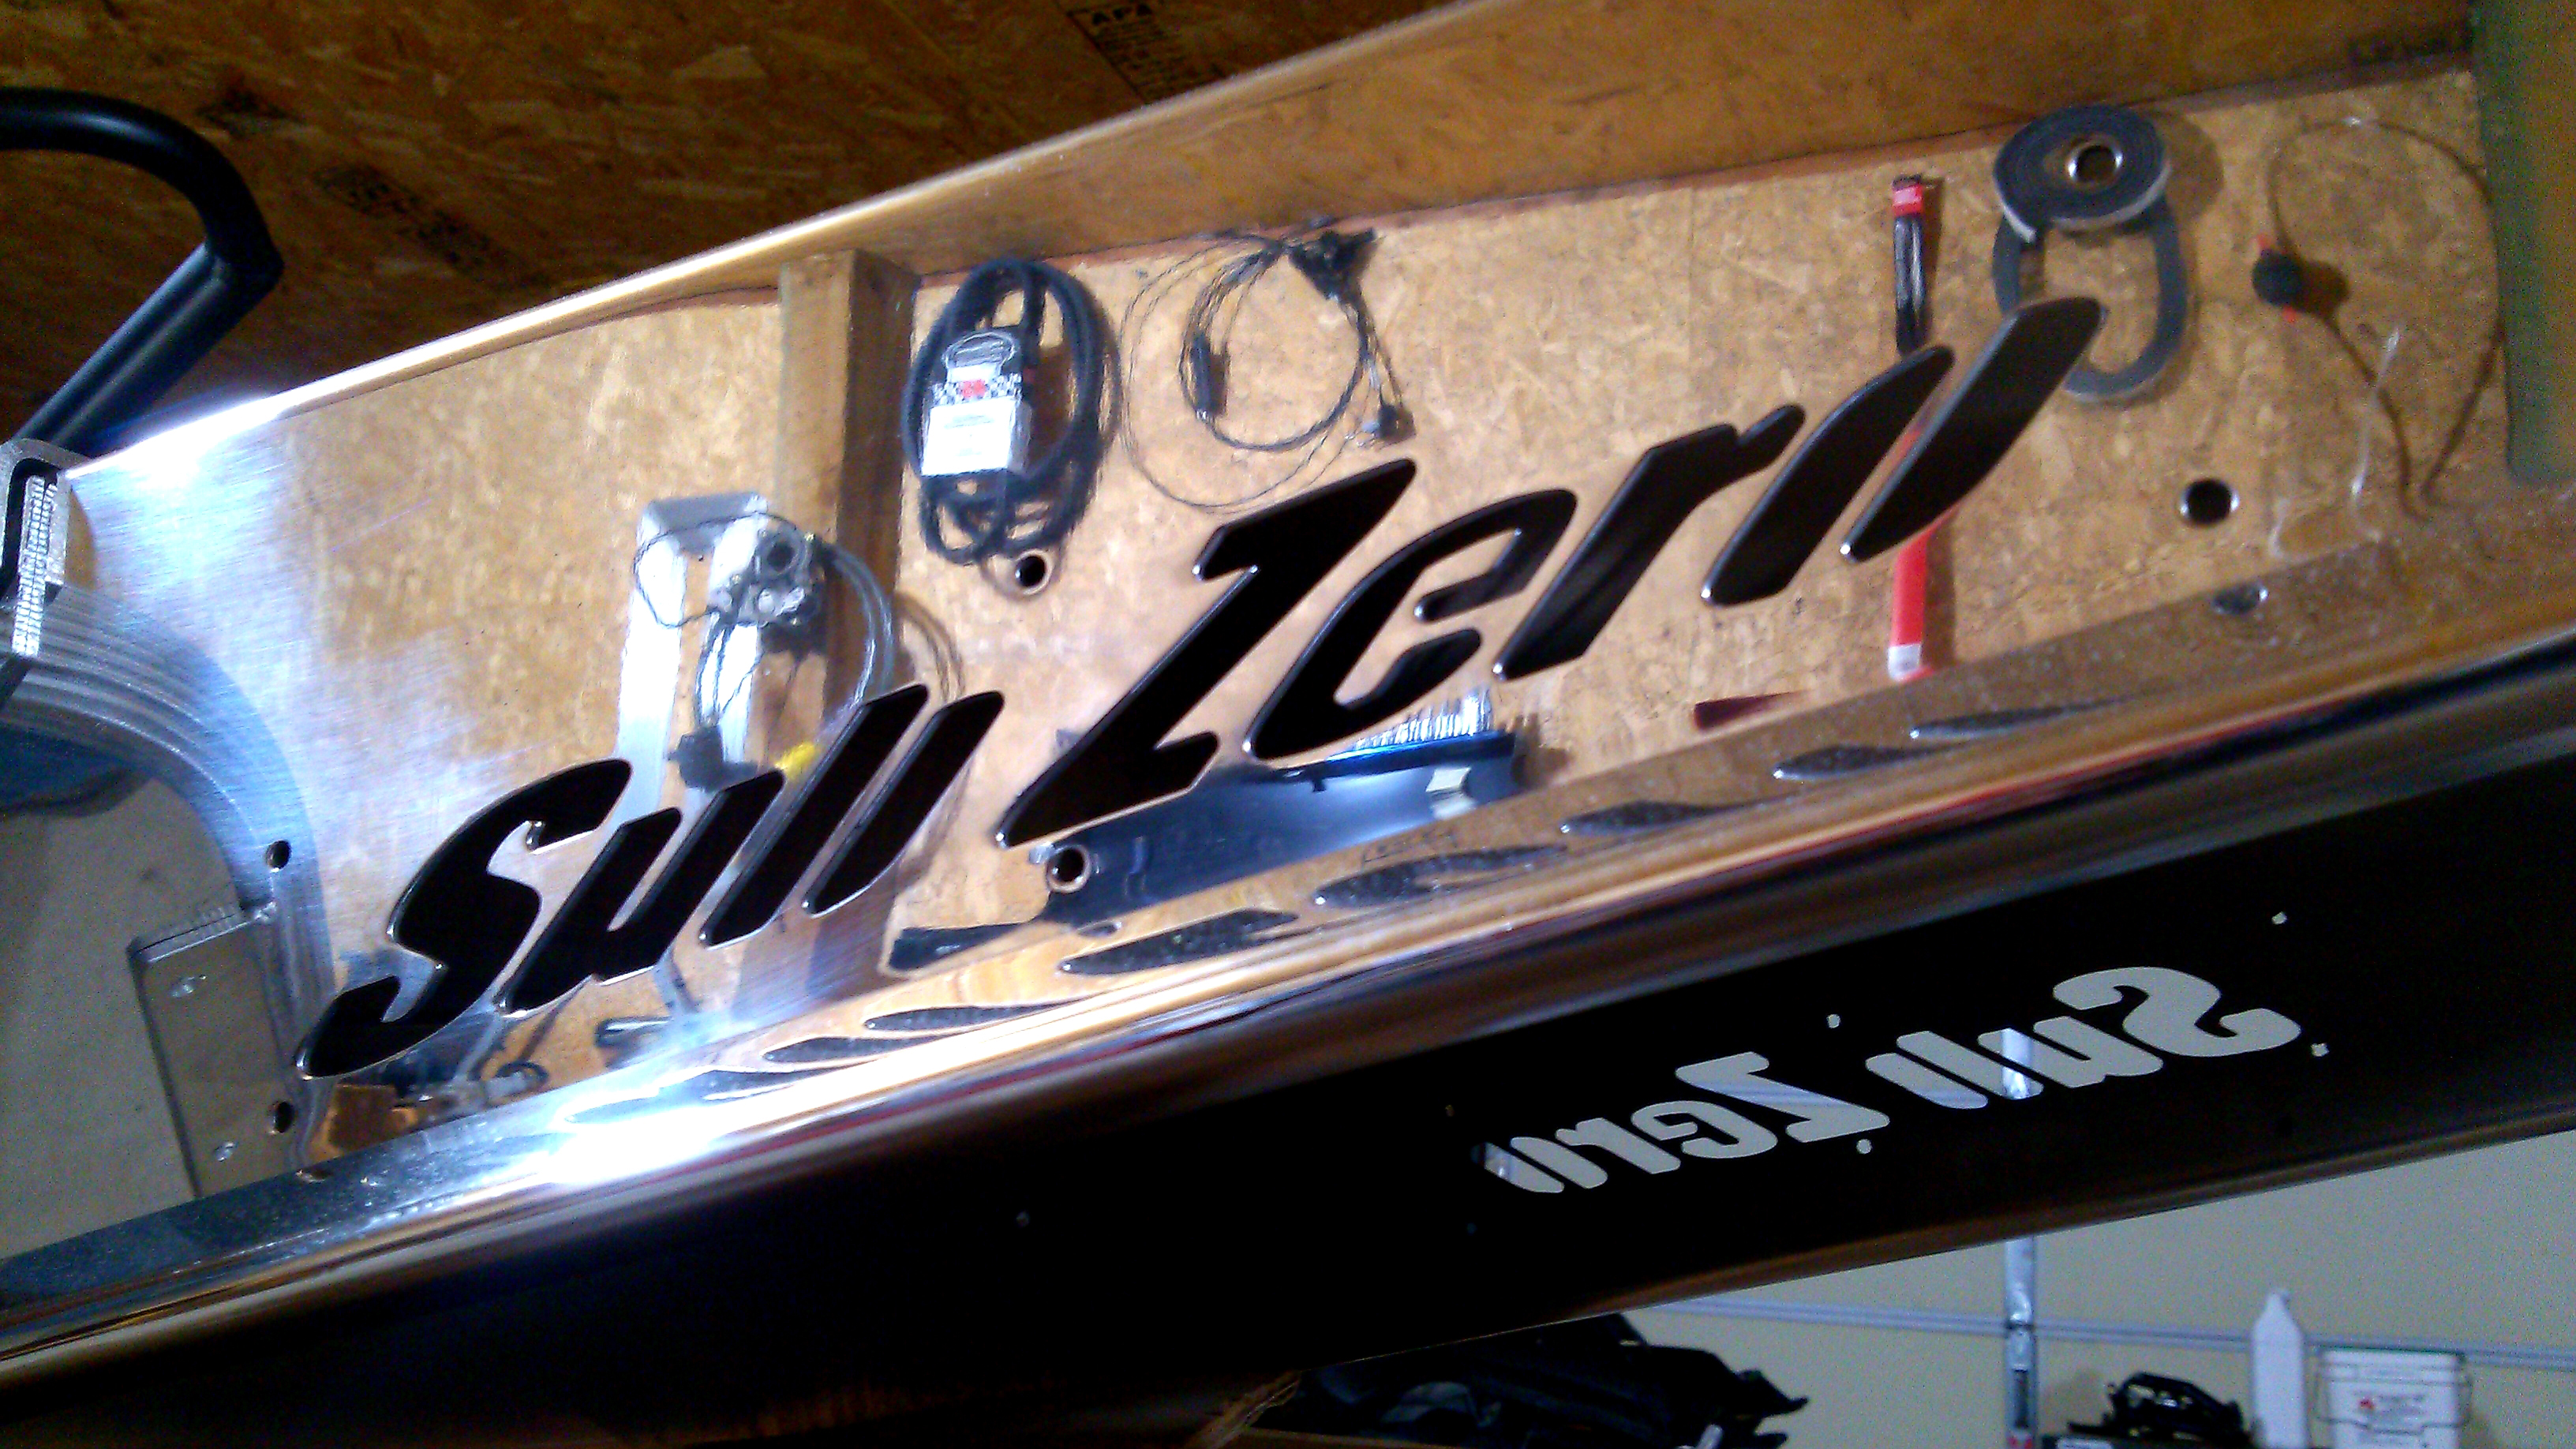
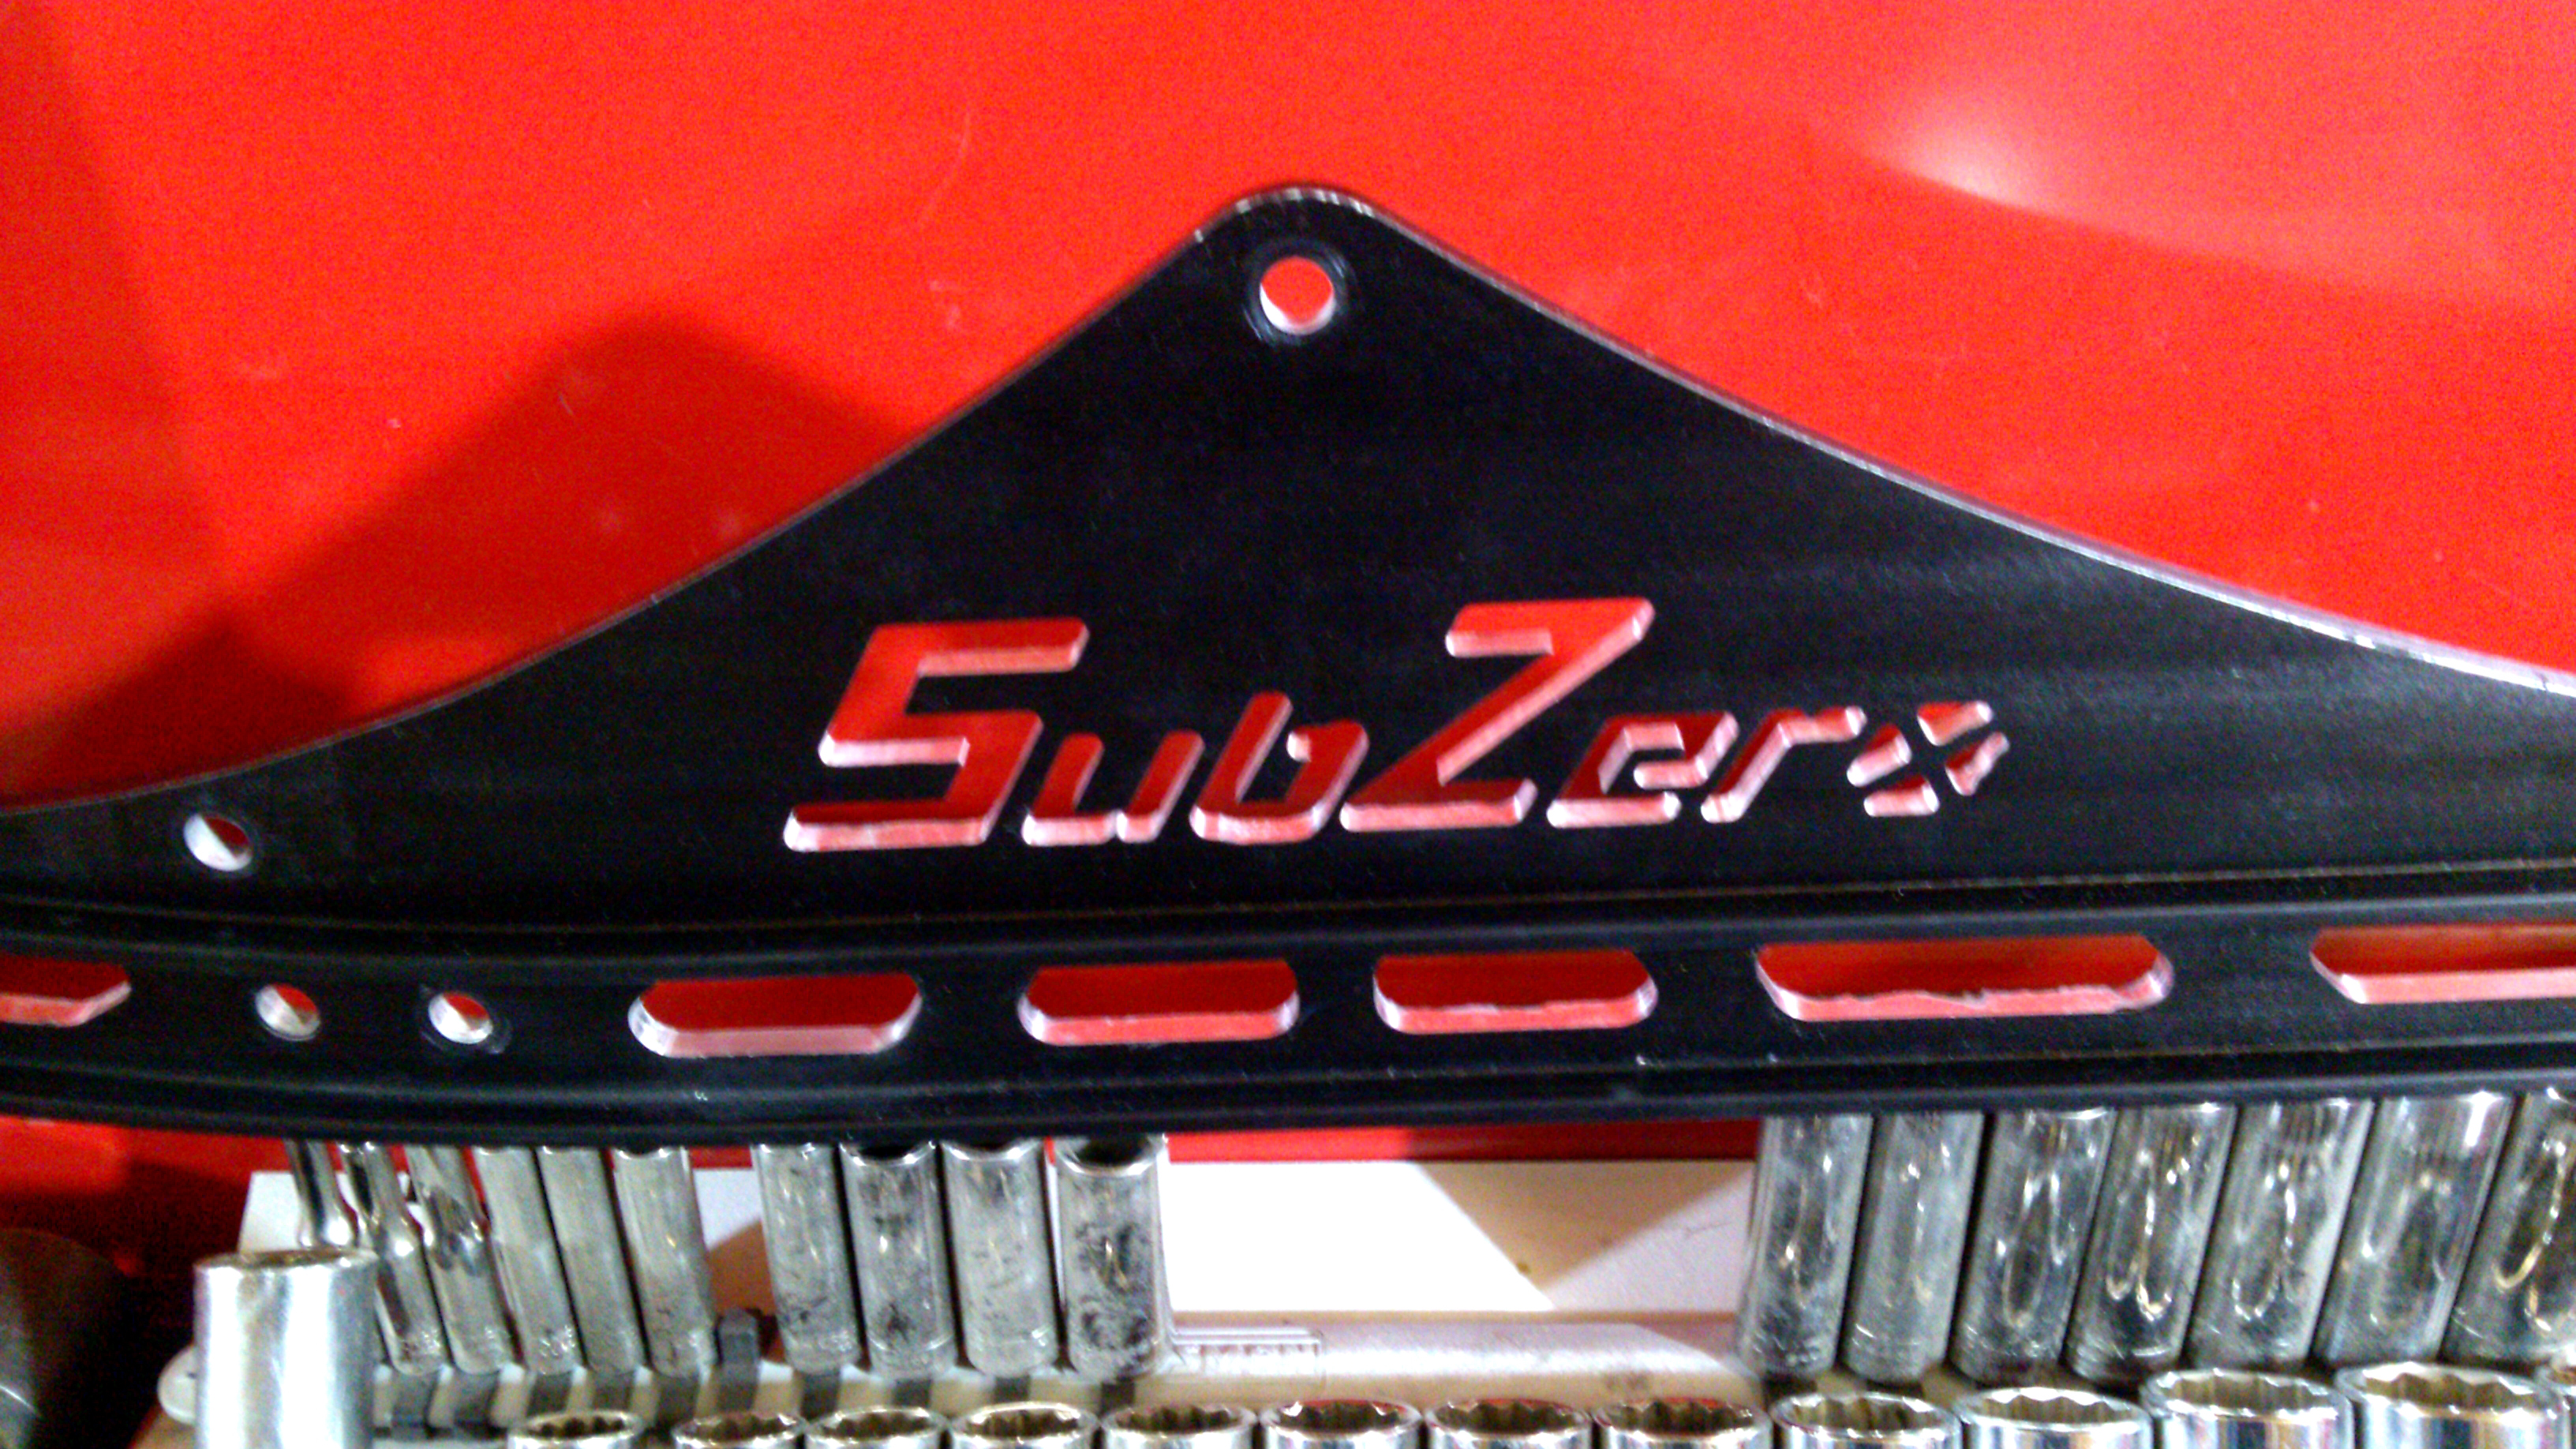
The sled was themed and built around the name “SubZero”
– I’m a finish carpenter by trade and install custom kitchens. Some of the appliances are  “Subzero” brand refrigerators, freezers, and wine coolers which require wood panels. These appliances come with a “Subzero” emblem in the install package. Most homeowners choose not to use them. I started collecting them years ago, and told myself “If I ever build a custom mountain sled I’m going to name it “SubZero.”

What was the most unique and creative thing you did to the sled?

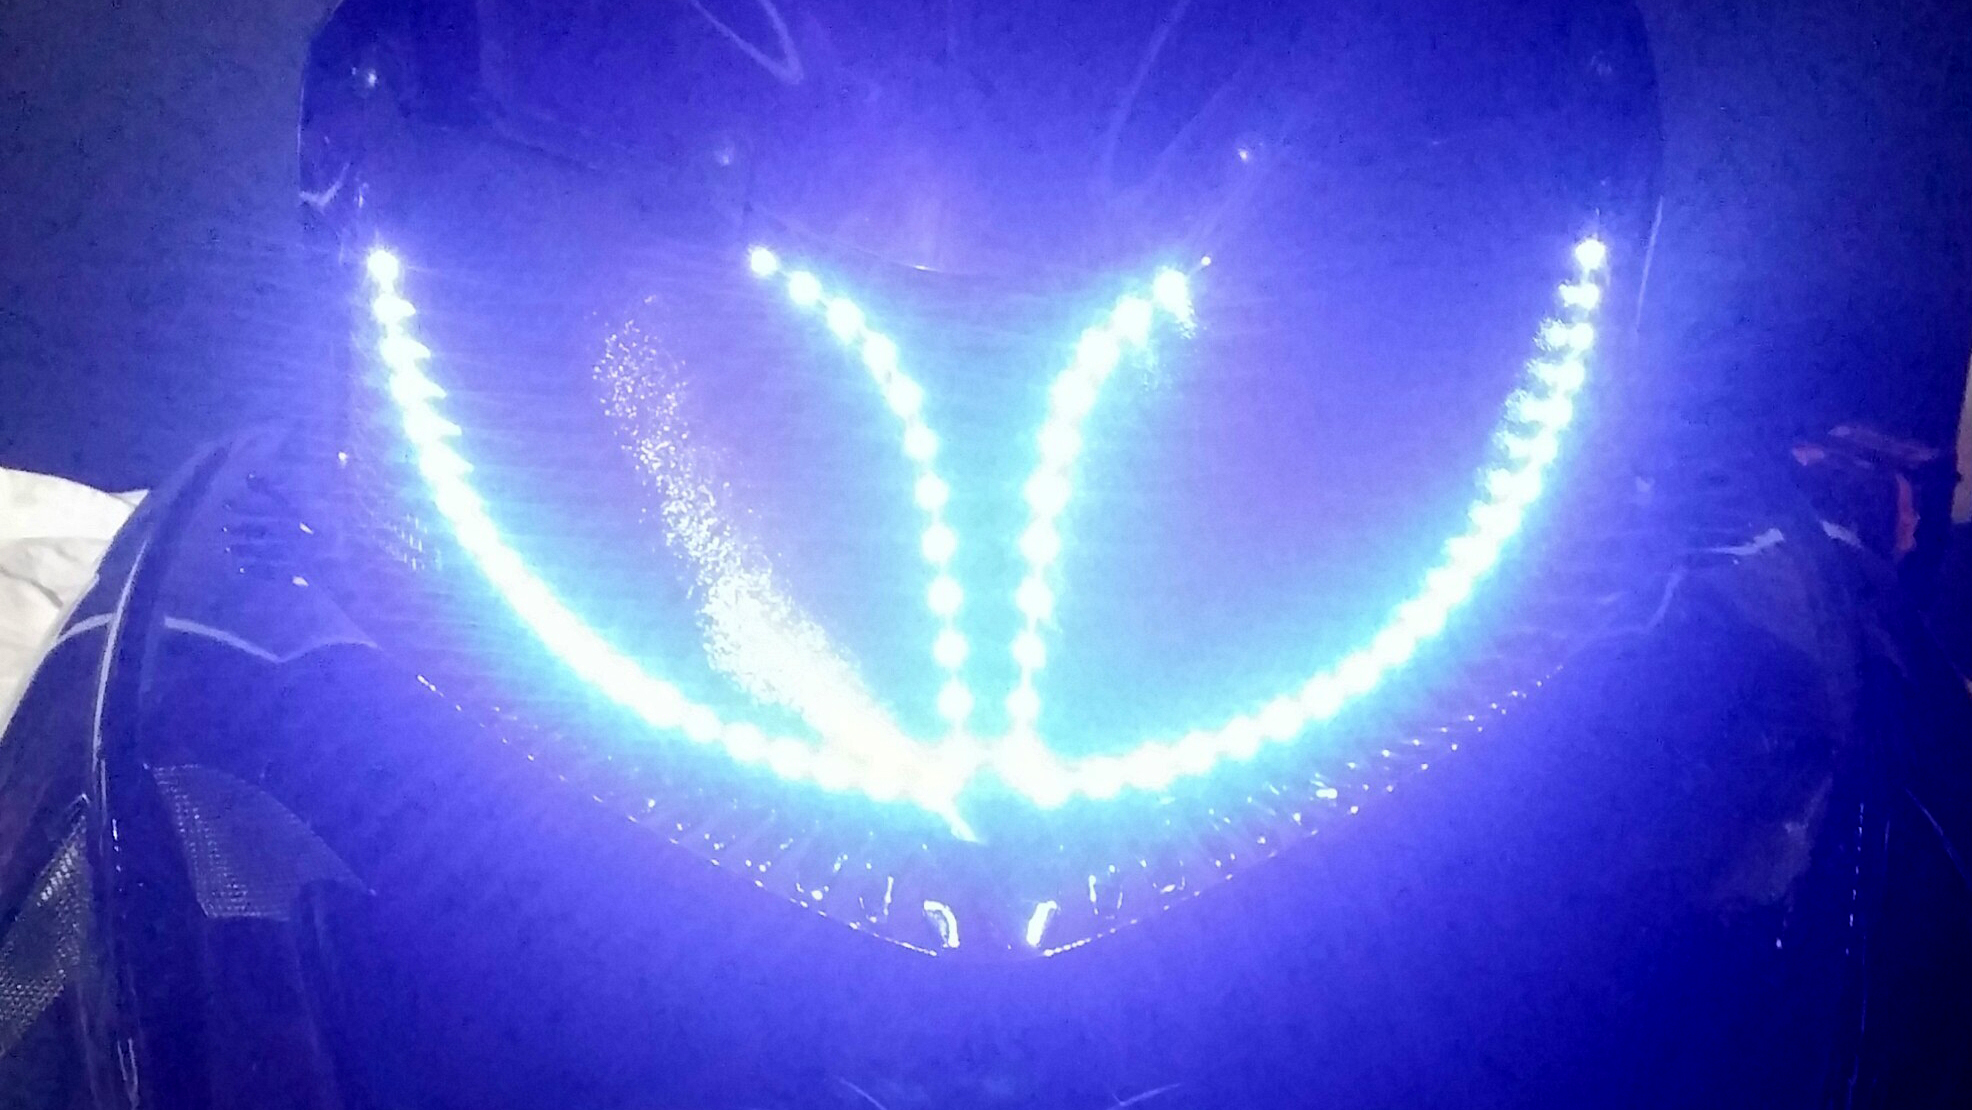
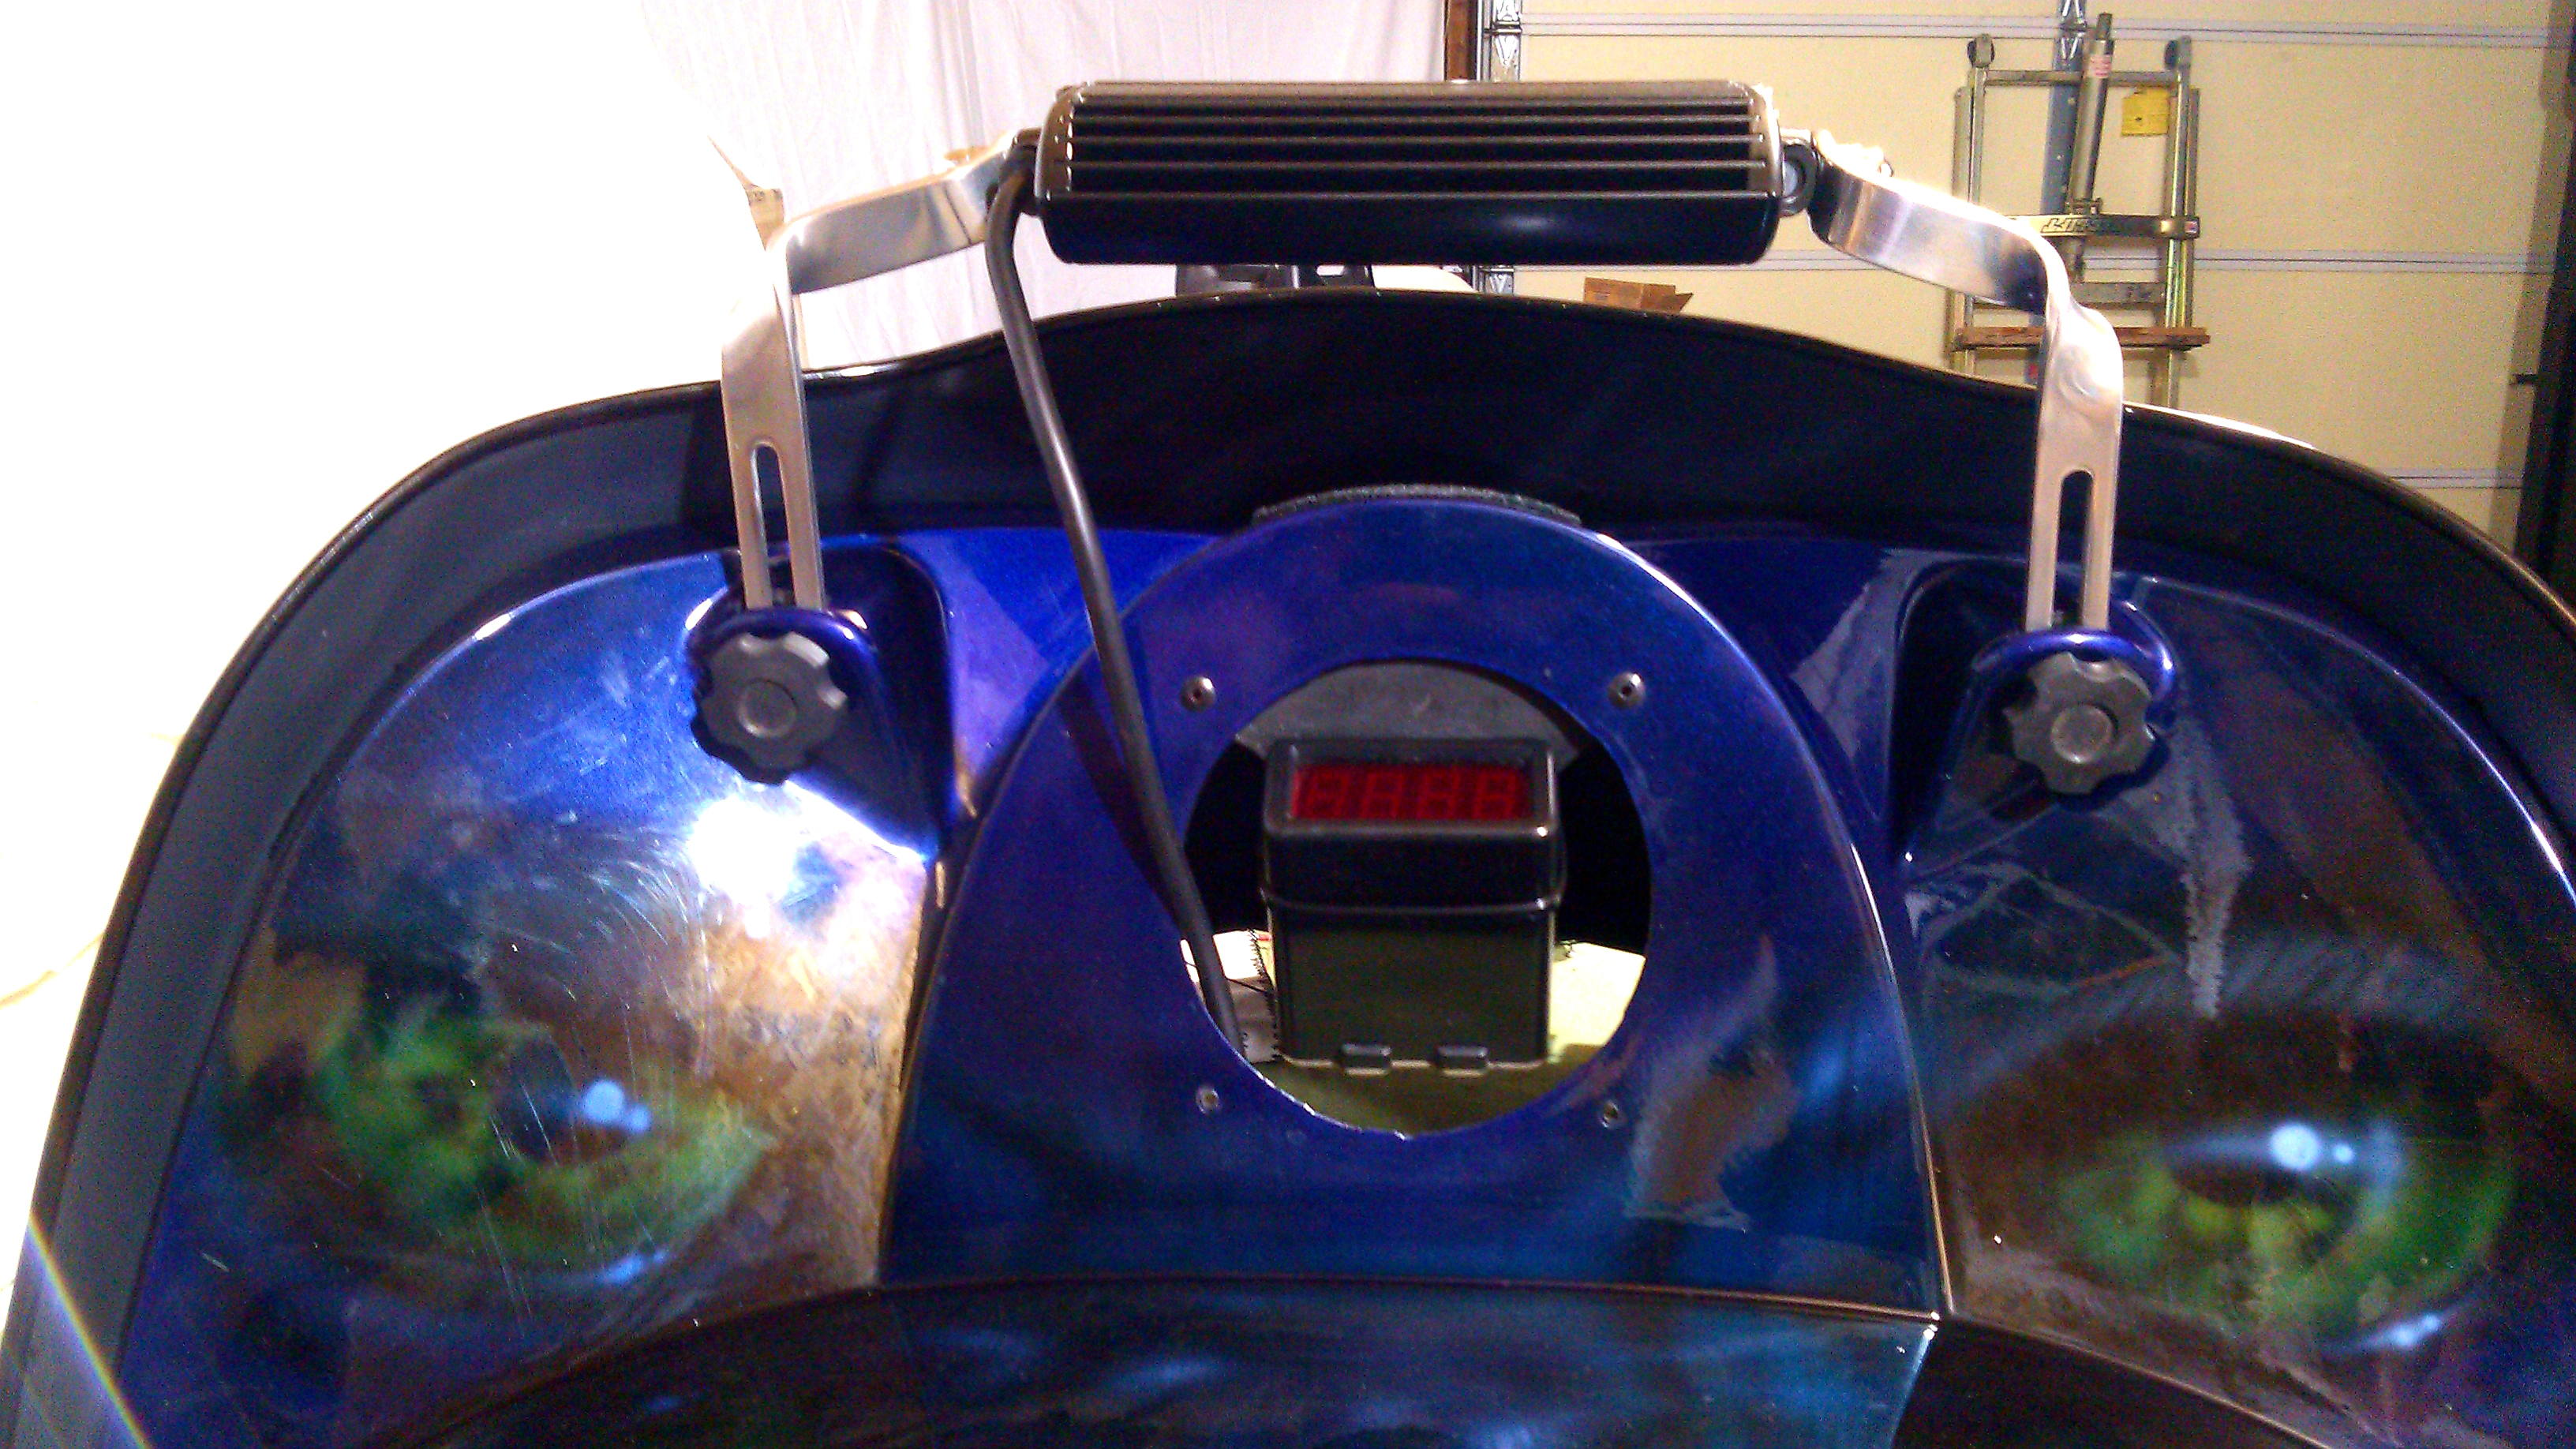
1. Used a 3rd brake light off a Z3 BMW Coupe.
– Welded a curved housing onto a Van Amburg bumper that I modified to fit onto a CR Racing tunnel.
– The brake light is only a single function LED light bar so I wired in a Blaster X microprocessor and a relay off my brake handle.
– The tail light is always on, but when I hit my brakes the LED’s flash in a switchable sequence.

2. Had a friend of mine weld up some chromoly A-Arms that gives “SubZero” a 36 inch ski stance.
– I don’t know of any aftermarket company that offers this on a M-Series style front end.

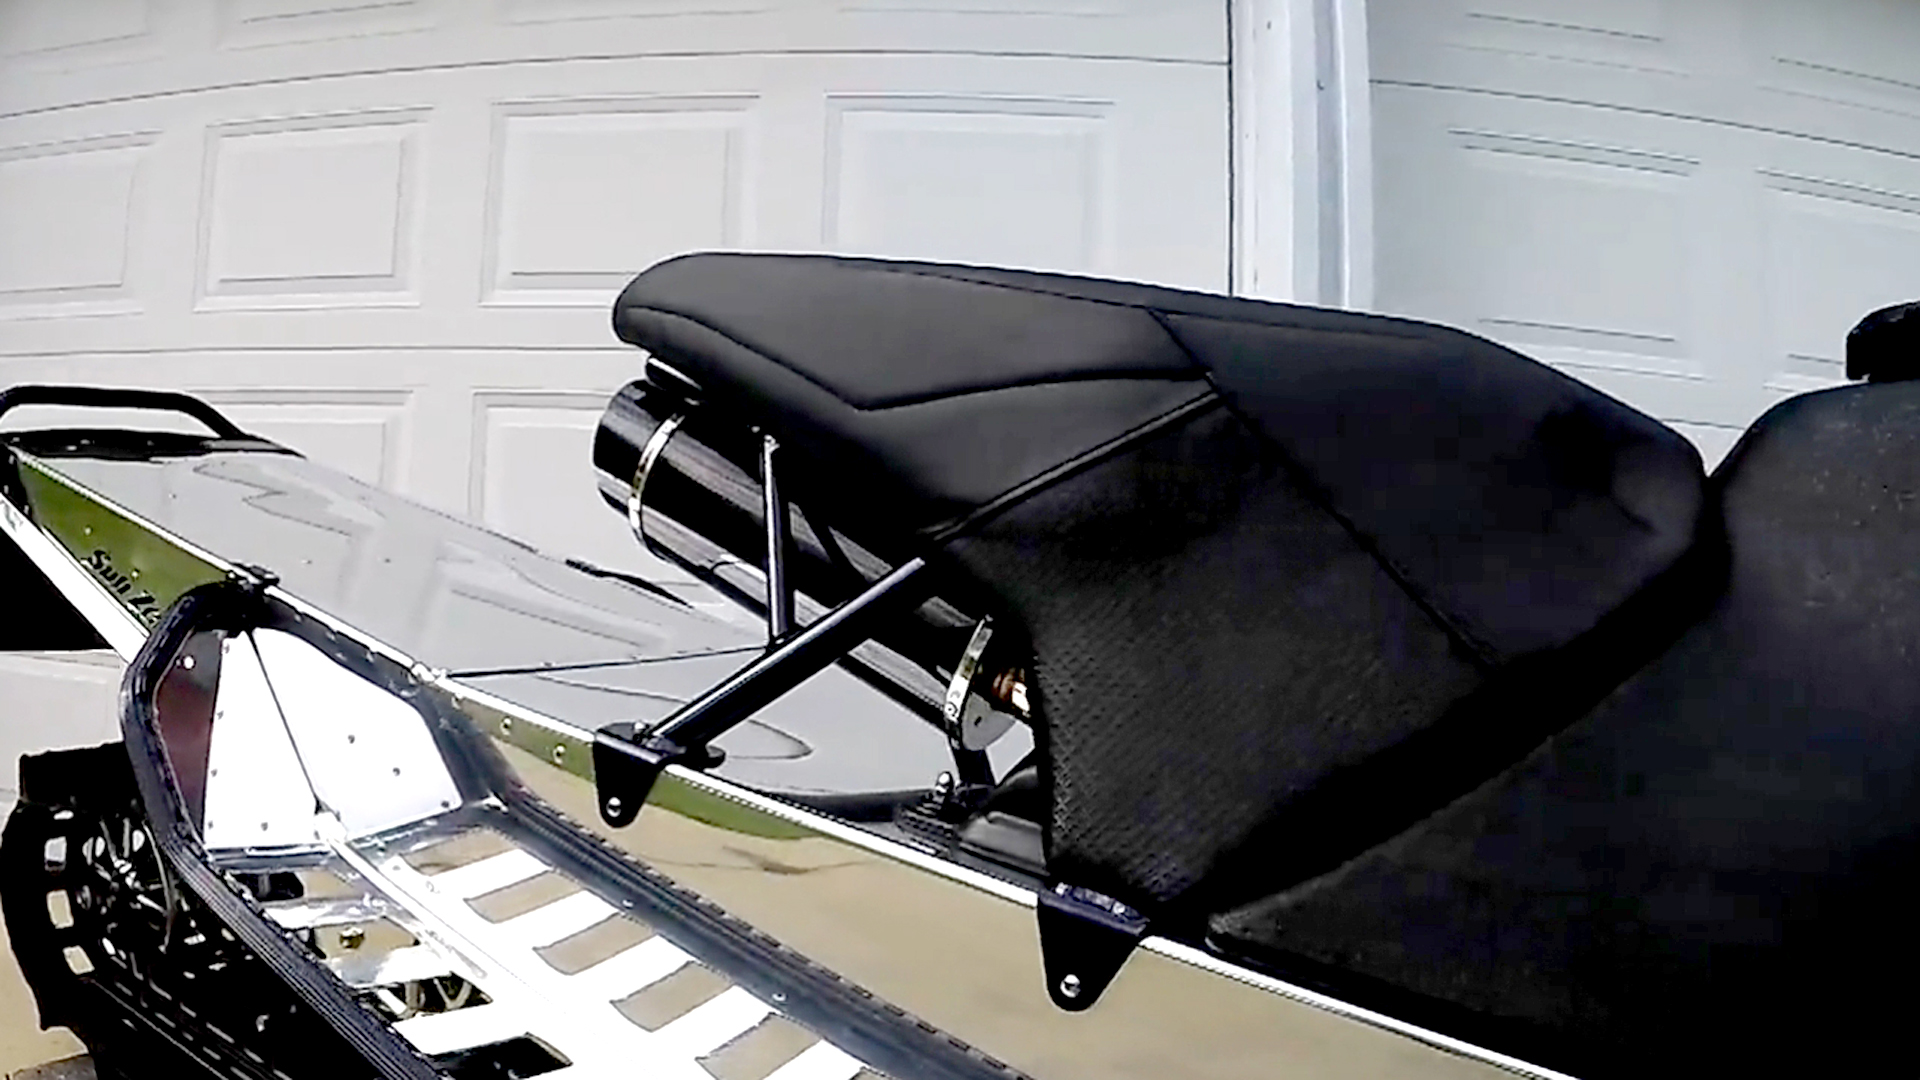
3. This one everyone asks about.  I installed a carbon fiber exhaust pipe off of a tuner car which I mount under my Skinz seat.
– Purchased to exhaust can off Ebay. Pulled all the guts out of it, rolled a piece of aluminum for inner strength, then reassembled it. Welded mounting brackets on the can and bolted it to the underside of the seat frame.
– When someone asks about it, I pull the plug out of the end and pull a bottle of water out. Extra storage…

What are you most proud of?

That it all actually works. LOL

– I had a lot of help from a lot of people and products that helped me make my vision come alive and function.

– I was able to hit my numbers.
( 213.6 engine hp and 430 lbs dry weight)

– That its done.  Maybe…

What do other people say about your snowmobile?

They usually do more head shaking and jaw dropping before they start with the 20 questions.

3 Comments

Leave a Comment

Your email address will not be published. Required fields are marked *

Rate this build

- (0 ratings)
Submitted by: Rodney S

Submit your email to win fantastic prices. This is completely optional. Visit our email submission page to enter.

Specifics

Classification: Wild
Make, Model & Year: 2014 Custom Build
Fondly known as: “SubZero”
Time spent: Spent 2 years buying, modifying, making parts. Had about 150 video hours of the actual assembly time. A good friend of mine did the video edit in which I assemble “SubZero” in just over a minute!!!
Snowmobile cost: Priceless
Money spent: A little at a time and a lot all together.
Engine: I used the 1000cc engine out of my totaled 2007 AC. Performance #’s after upgrades- – Engine HP – 213.6 – HP to track – 89.6 – Max Torque – 144.9 Upgrades include: – High elevation porting done to cylinders, (D&D Power Sports). – The crank balanced and pork chopped. – Wiseco pistons – Bikeman head – Bellow Style Power Valves – Used BDX oil injection elimination kit. – All Titanium fasteners and bolts. – Shaved 2.5 lbs of extra aluminum off engine casting (weight).
Intake: Used the stock 50mm throttle bodies- but shaved all the extra aluminum off of them. – Power Commander V – VForce 3 Reeds – Timbersled clean air intake
Exhaust: Full D&D Power Sports Y-Pipe, Pipe, and Big Dog Barker Can. – All exhaust parts are ceramic coated & pipe is partially heat wrapped. – Installed Wideband 02 -NGK Powerdex AFX – Air Fuel Ratio Monitor Kit. (tuning and problem detector)
Drivetrain: – Using newer stock Cat clutches with Dakota Pro weights. – Titanium fasteners & clutch bolt – BDX light drive with Extreme Lite Weight 60/60 gears. – Prolight Trackshaft with 8 tooth drivers. – 2.6″ Camoplast track 162″ x 15″. Ported & shaved.
Tunnel/Chassis Modifications: Had CR Racing out of Canada make my tunnel with the “SubZero” logo. Polished to a mirror finish. -Coolant travels thru the running boards for cooling and keeping them free of snow. – The taillight is a 3rd brake light off of a Z3 BMW coupe fit onto a Van Amburg bumper. – Custom made seat by Skinz Protective Gear with custom exhaust canister storage. – BDX chromoly adjustable steering post. – All Titanium fasteners.
Suspension: Front Suspension: – Custom chromoly A-Arms for a 36″ ski stance. – Fox Float Evol piggyback shocks. – Cat skis and spindles. – All Titanium fasteners. Rear Suspension: – Timbersled Mountain Tamer Suspension. – Custom IceAge Performance Rails with the “SubZero” logo. – 10″ billet MMP rear idler wheels. – Fox Float shocks. – All Titanium fasteners.
Brakes: BDX – Super Light Ceramic brake rotor and pads. – All Titanium fasteners
Finish – Paint: Hood and windshield are custom airbrushed by a good friend of mine. – All custom parts are powder-coated with an illusion powder. – IceAge rails are anodized black. – Tunnel is polished.
Accessories: Lighting: – Headlight – Rigid 6″ LED light bar. This can be lowered and tucks behind the windshield for protection from trees and can be raised up for night riding. – Running lights – LED strips in headlight delete kit. – Taillight – Z3 BMW 3rd brake light. – Installed electronic reverse. – Digital gauge displays rpm, tach, and water temp. – RSI Racing handlebar heaters. – RSI grips. – Mountain Addiction fuel and storage rack. – BDX hood vent kit. – R & M Lightning panel vents.

Share