1987 Yamaha Phazer

What was your intended objective when you started the build?

To build an inexpensive yet capable backcountry sled and to have fun building it.

What motivated you to start your project?

My dad and took a trip to the Keweenaw in 2018 that really sparked my interest for venturing off the logging roads that we were used to riding and into the steep trees. I wanted something that I could use and abuse as I learned, something light, with a narrow ski stance, and that wouldn’t bankrupt me if I caught a tree. Plus, I was in college and wasn’t going to be able to go buy much of a newer sled. Plus, it sounded like a lot of fun to build a sled. I was inspired by the pictures all over the internet of modified Phazers. I figured if all of those people could do it, so could I.

What was the most unique and creative thing you did to the sled?

Three things on my build are relatively unique to Phazer builds from what I have seen. First, I wanted my tunnel to be strong, from the front skid mounts to the rear bumper. That’s why the running boards are built off of 1″ square aluminum tube that runs from the front of the footwell to the rear bumper. The last 18″ or so on either side is supported with a vertical plate on top of the tube. In doing this, any tunnel extension I did needed only to be cosmetic, as the running board assembly serves as the structure of the tunnel. The second relatively unique thing about my build compared to a lot of other Phazer builds is that I went through the extra effort to raise the handlebars to where I wanted them. I could have stopped when I ran out of stock throttle and brake cable length, but I figured if I was going to build it, I was going to build it how I wanted. I purchased new handlebars and a riser and mounted them on a custom adapter/riser that I made. I made a throttle cable extension work, but for the brake cable I used a clutch cable off of a YZ250F. The end result is a handlebar height that is exactly right for me. Finally, this build has a custom nod to the first sled I ever rode. I started out on a Bravo with a hood that had been patched up using an old license plate. This Phazer had a hole ripped in the belly pan when I got it, so as a tribute to the old Bravo, I just slapped a license plate over the hole and riveted it down. A unique aspect about the build in general is that I did it while in college, and as a result did some work in my dorm room. My initial carb work was all done on my dorm room desk, as was the snow screen installation in the hood.

What are you most proud of?

That it rides as well as it does. Also, I’m proud that I designed and fabricated every single custom piece of the build.

What do other people say about your snowmobile?

“That thing is sweet!”

Leave a Comment

Your email address will not be published. Required fields are marked *

Rate this build

- (0 ratings)
Submitted by: Jake B

Submit your email to win fantastic prices. This is completely optional. Visit our email submission page to enter.

Specifics

Classification: Mild
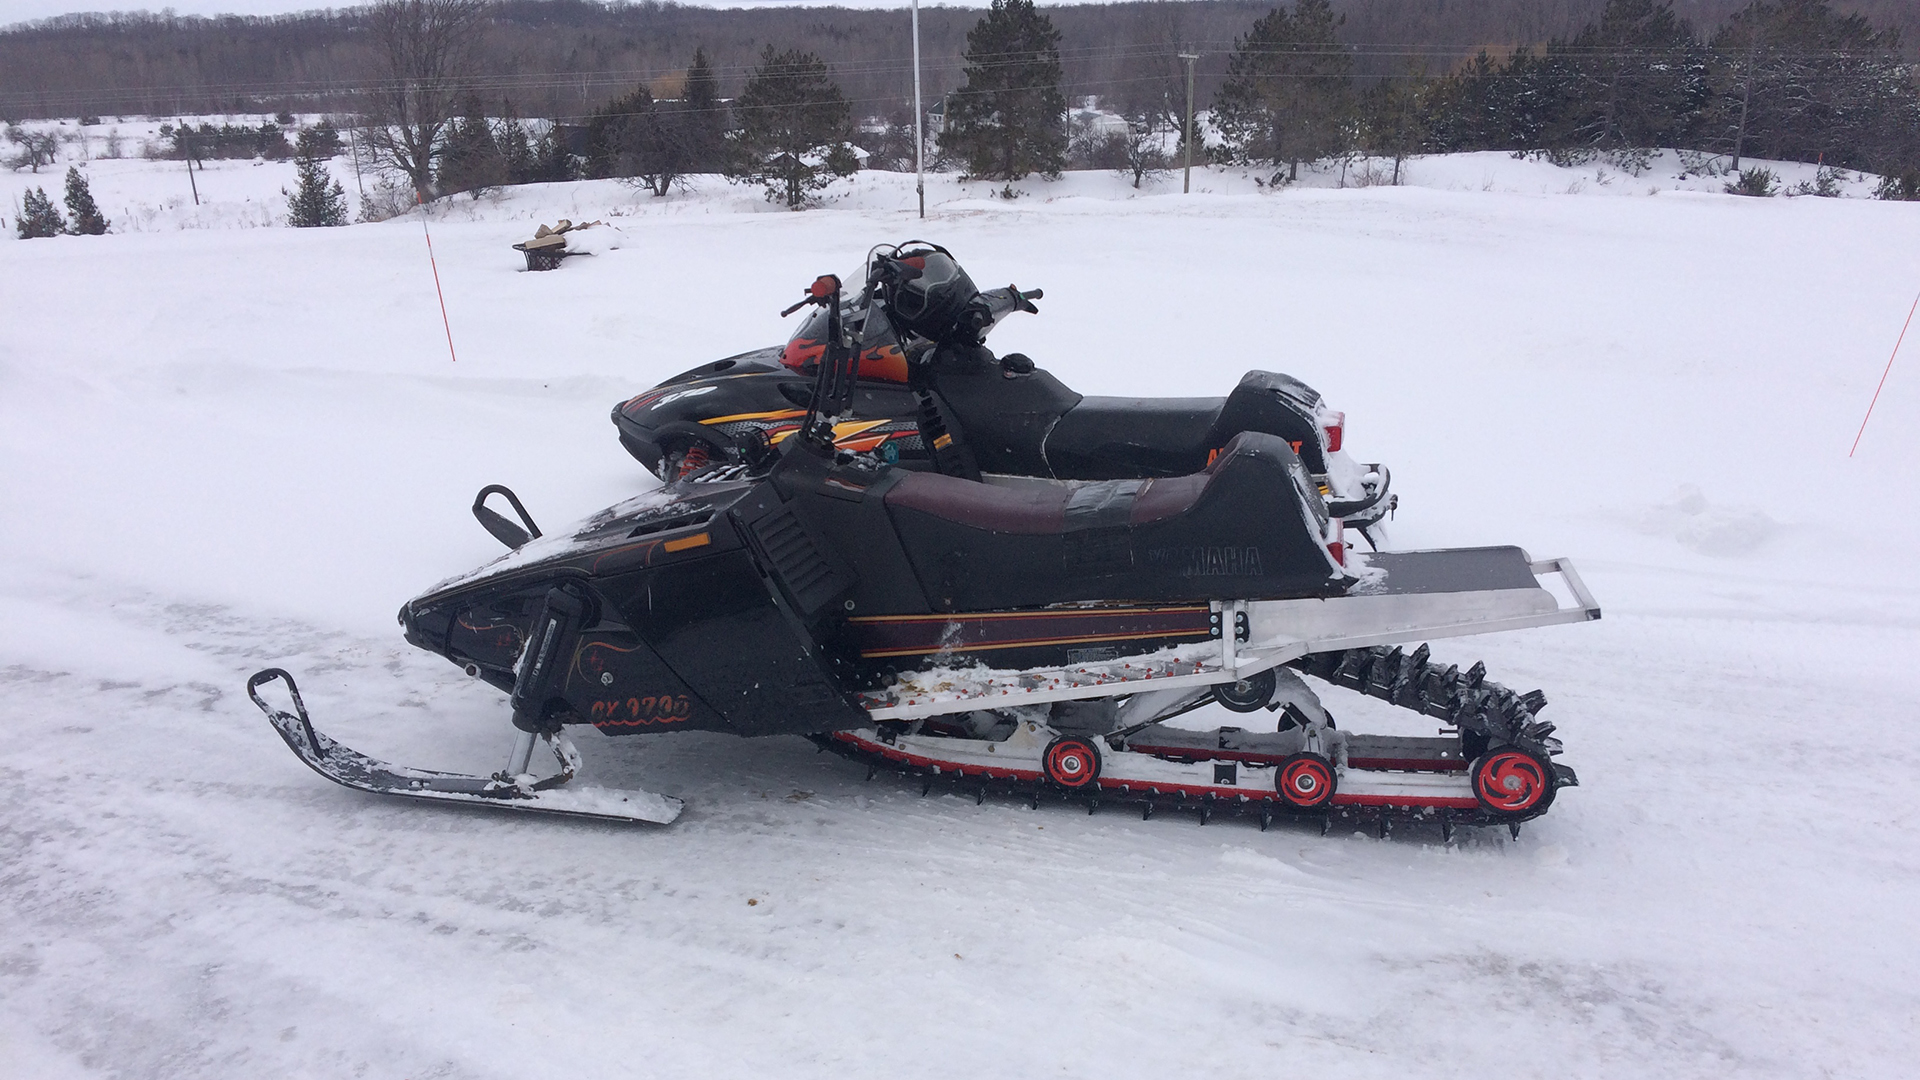
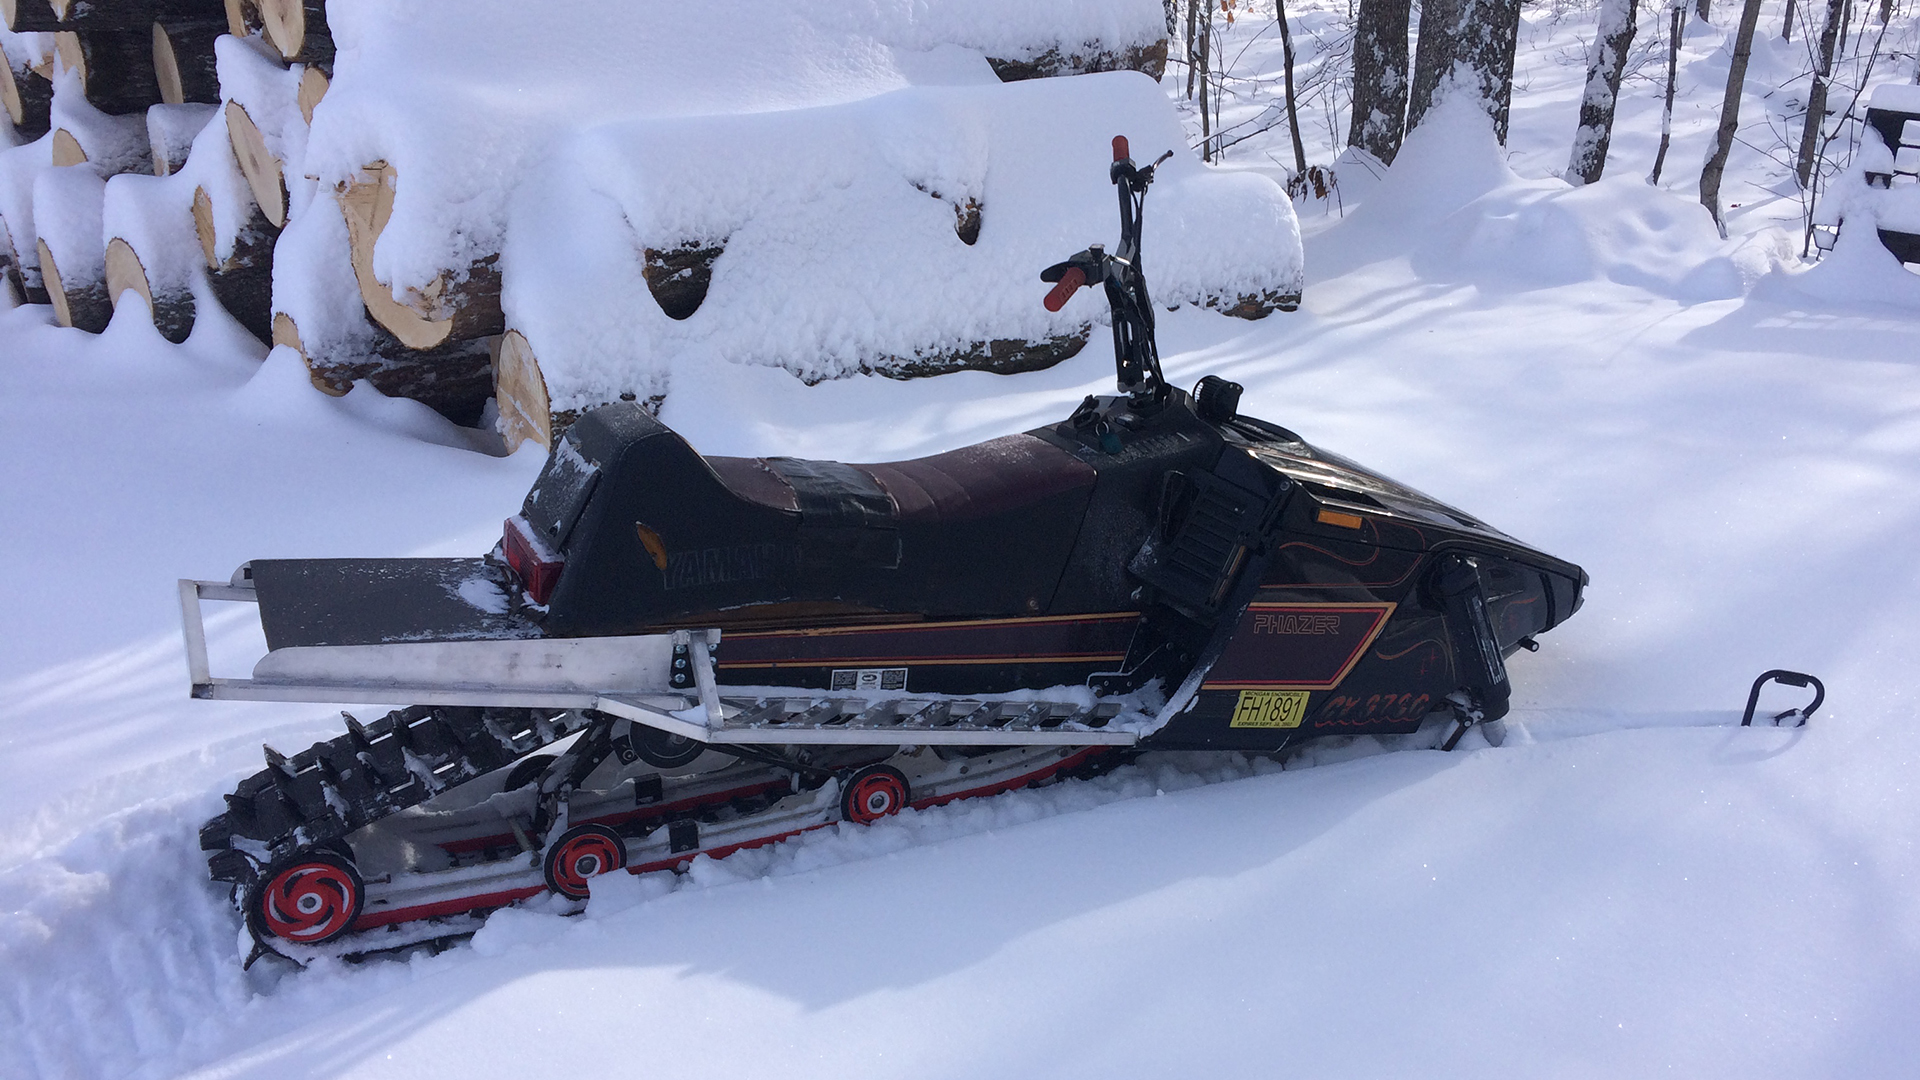
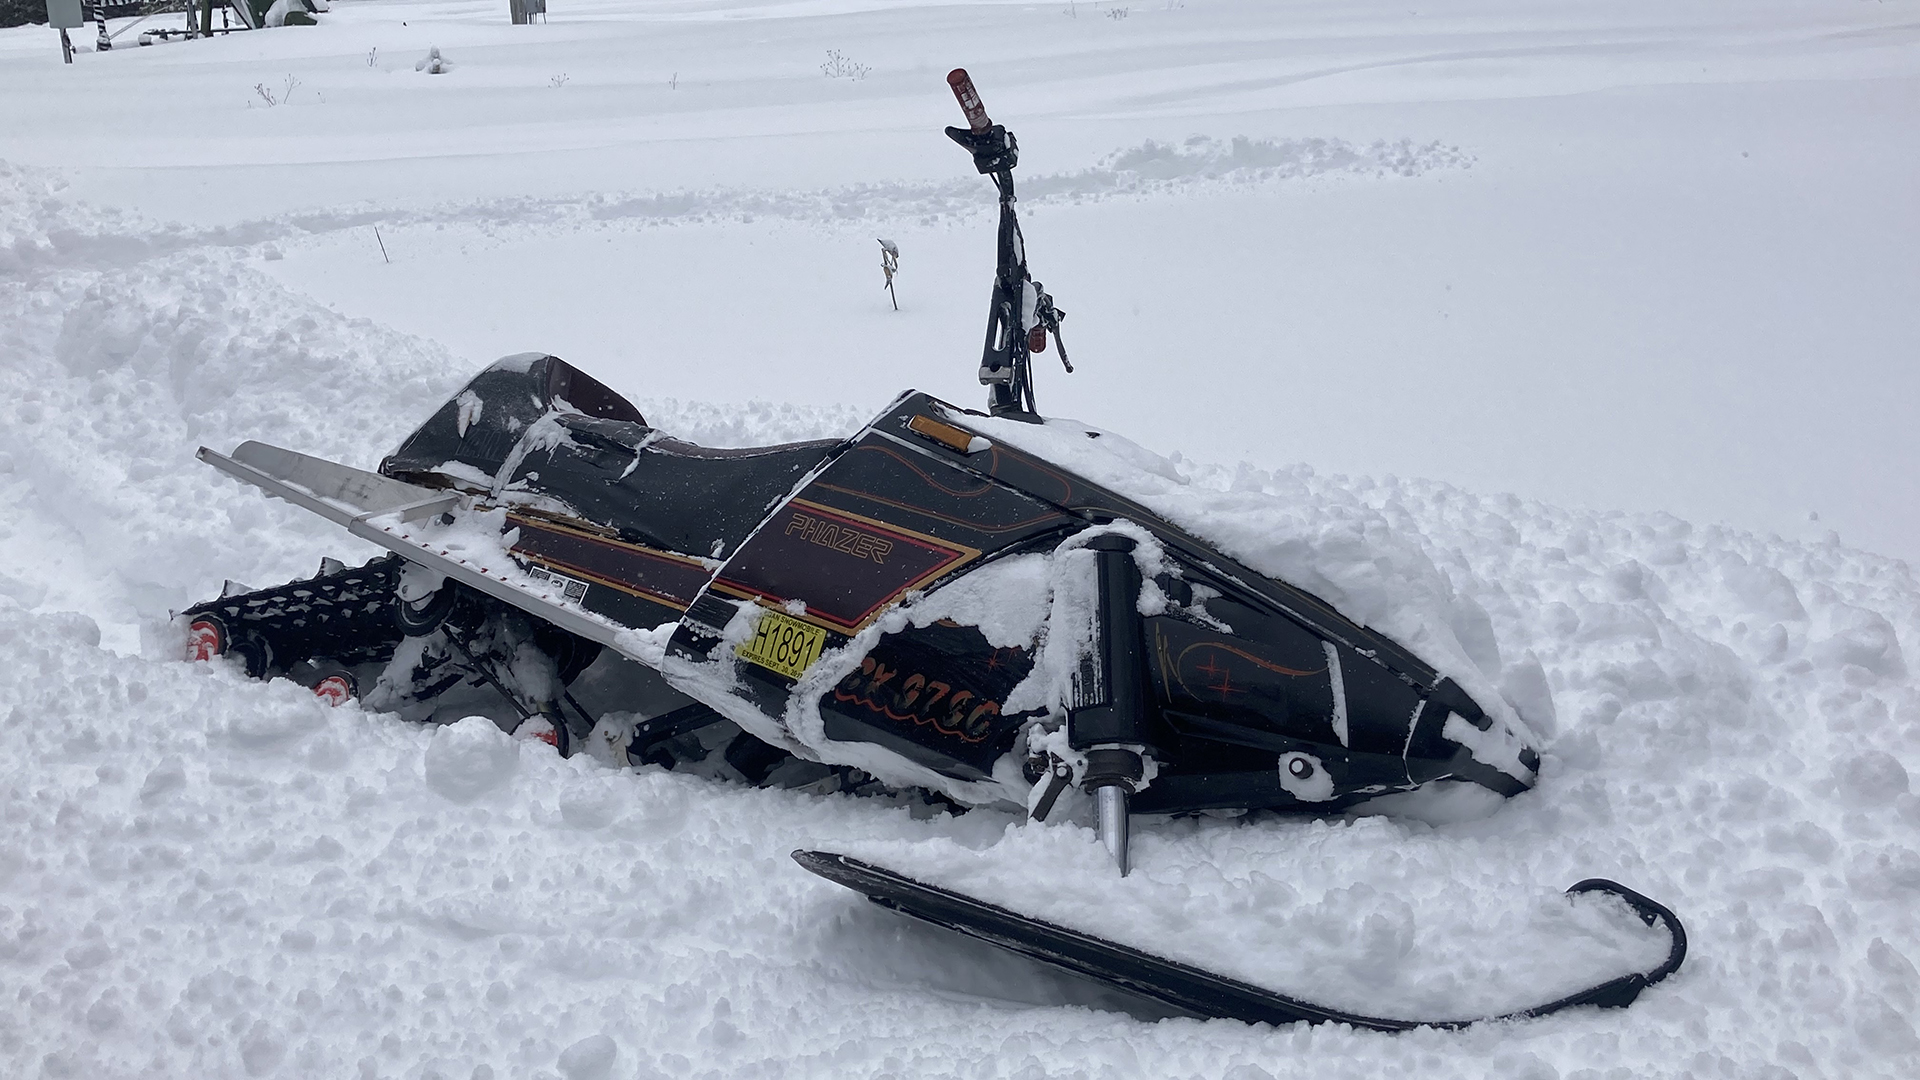
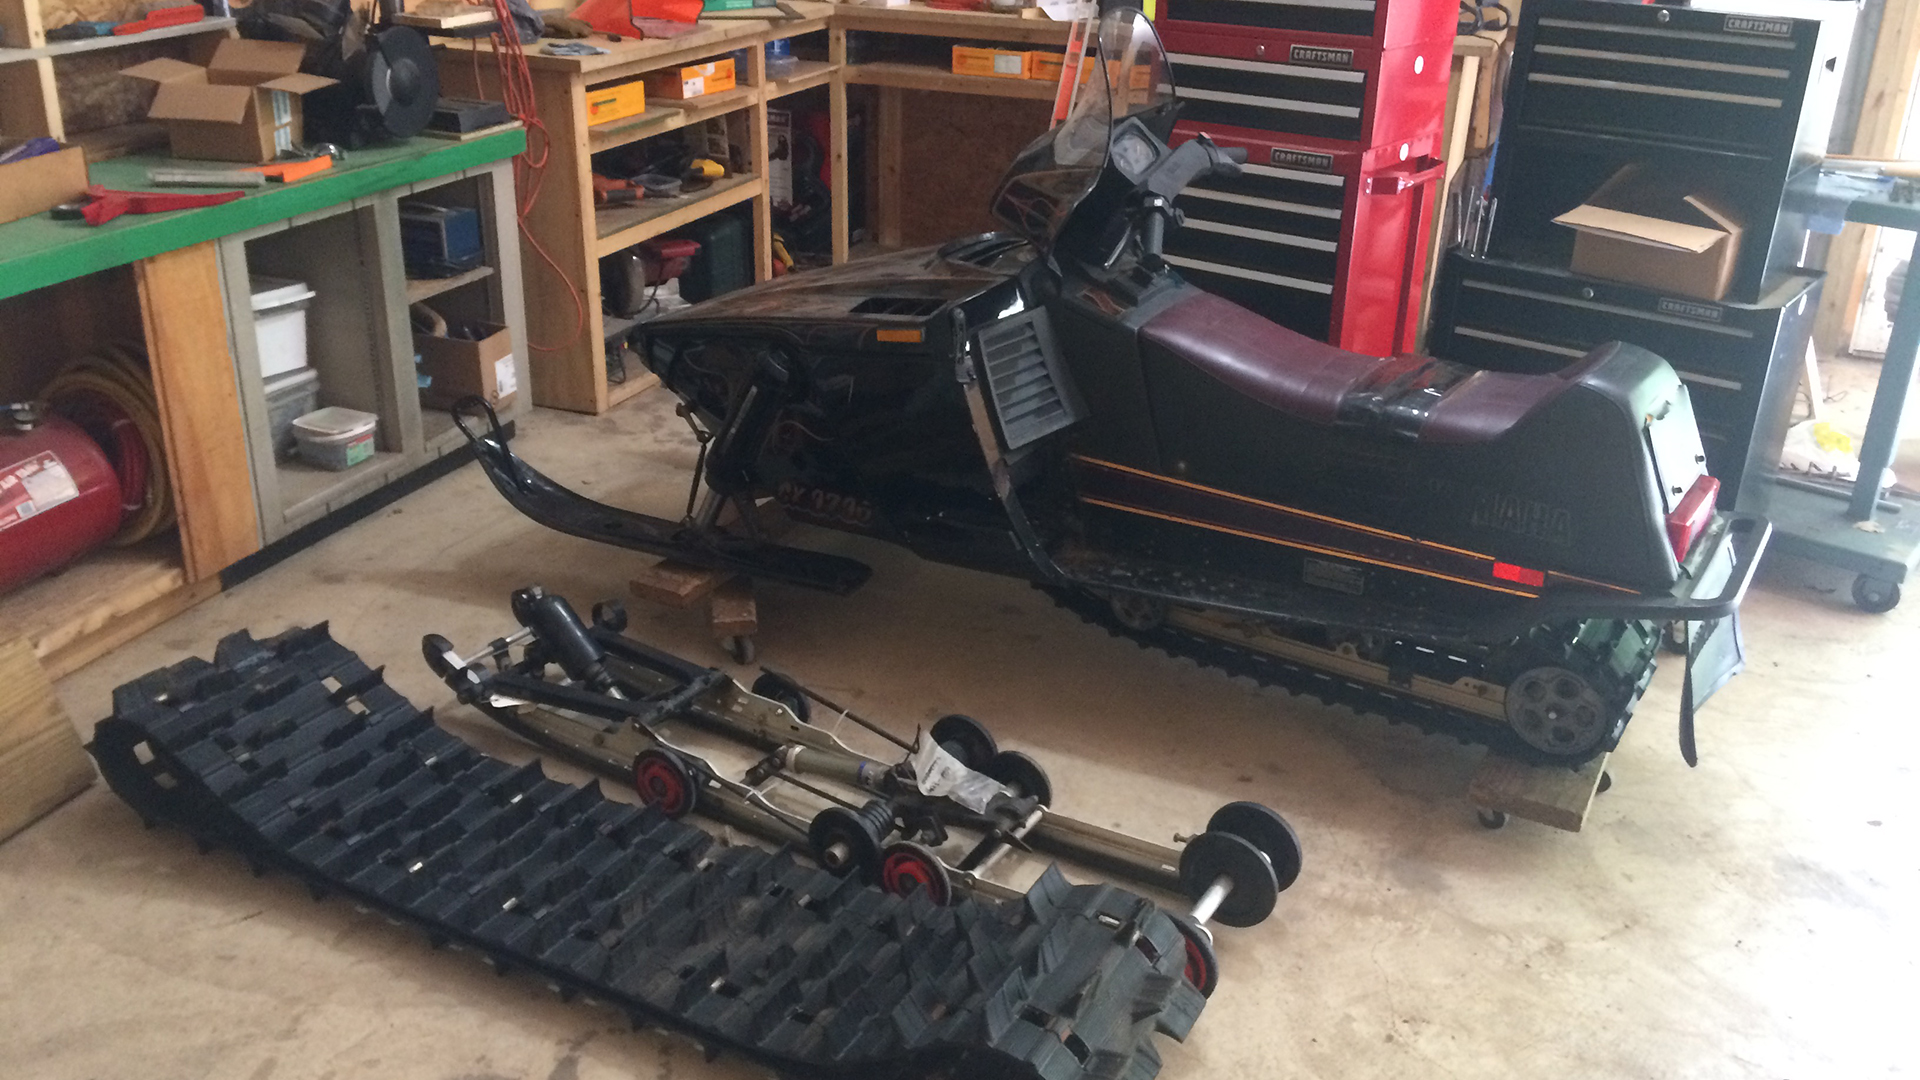
Make, Model & Year: 1987 Yamaha Phazer
Fondly known as: Who knows
Snowmobile cost: $300
Money spent: $1,480
Engine: Stock 480
Intake: Stock Mikuni dual butterfly carbs (147.5 main jets), Boysen reeds
Exhaust: PSI single pipe (with dents) from a friend’s barn
Drivetrain: YPZ clutches (blue-green primary spring, secondary cranked up), 15/31 sprockets, 7 pin drivers, 151″x15″x2″ track off of a Summit
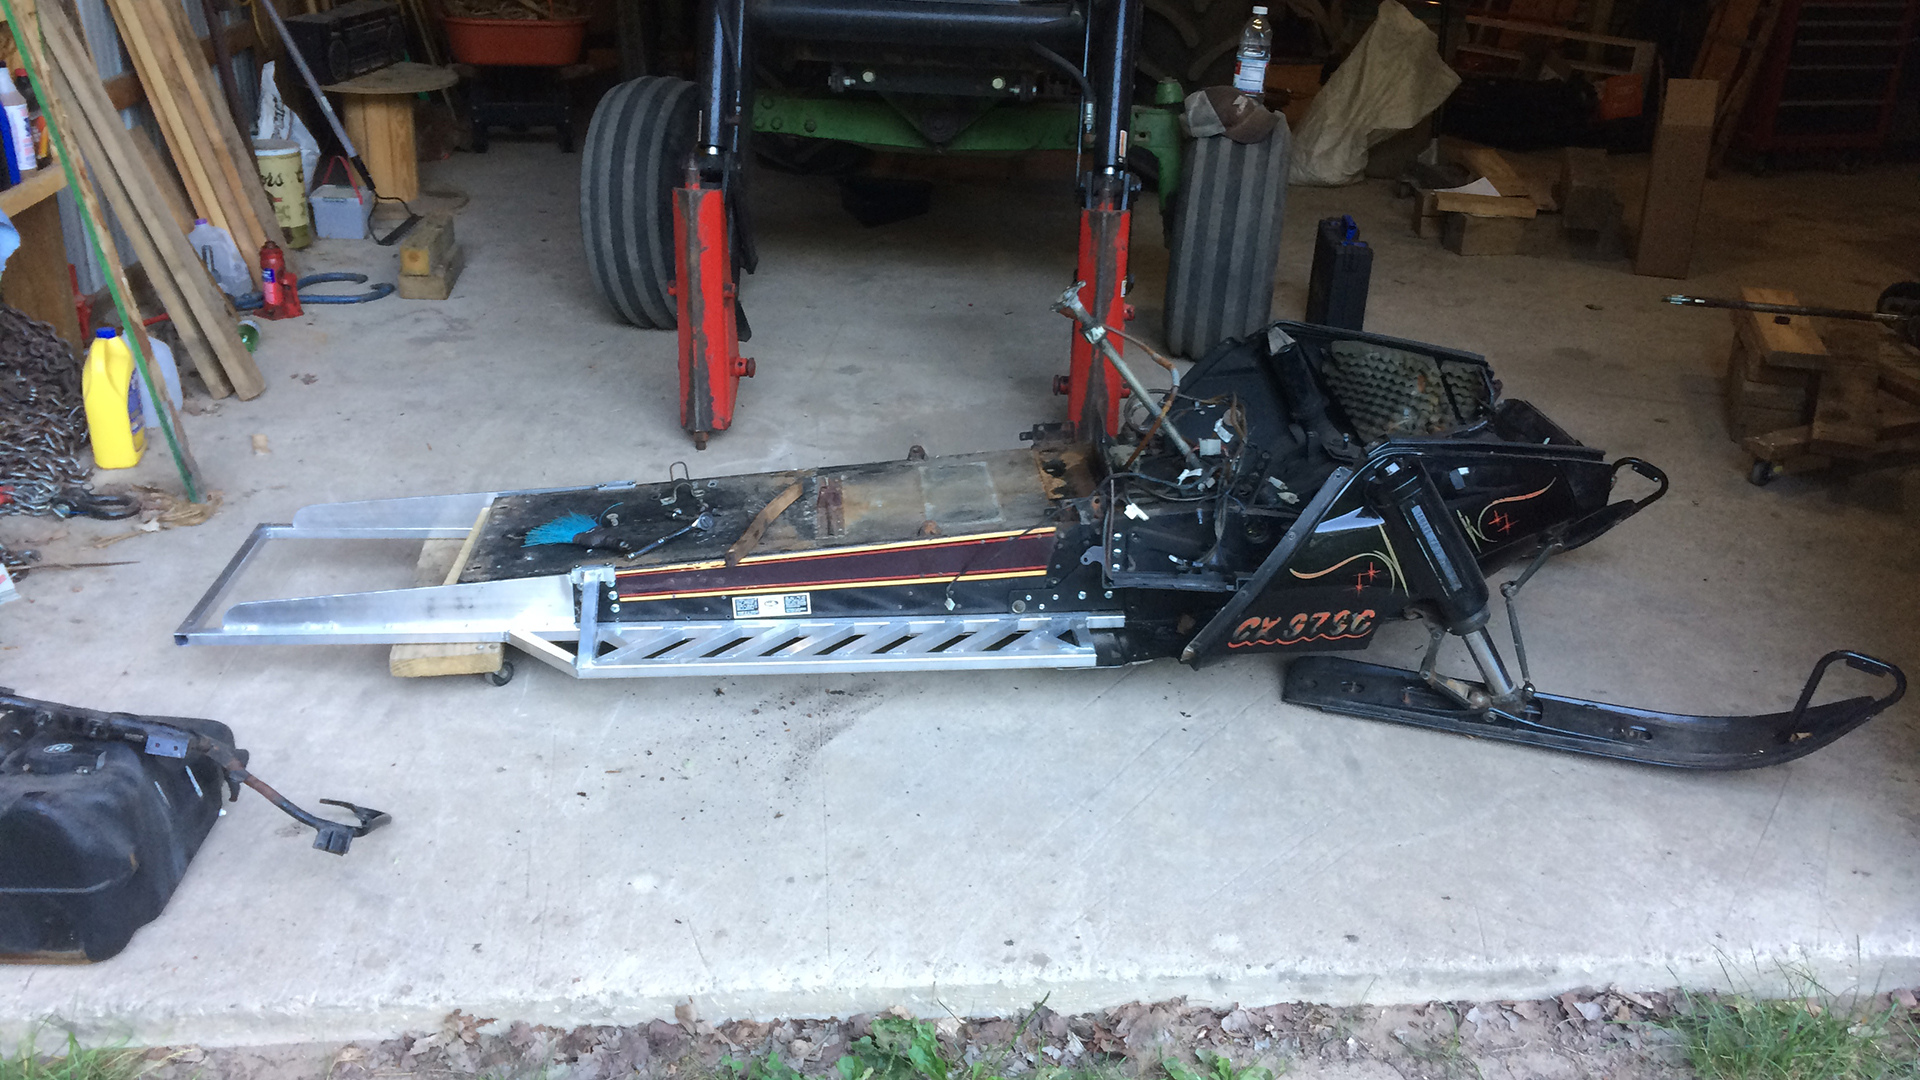
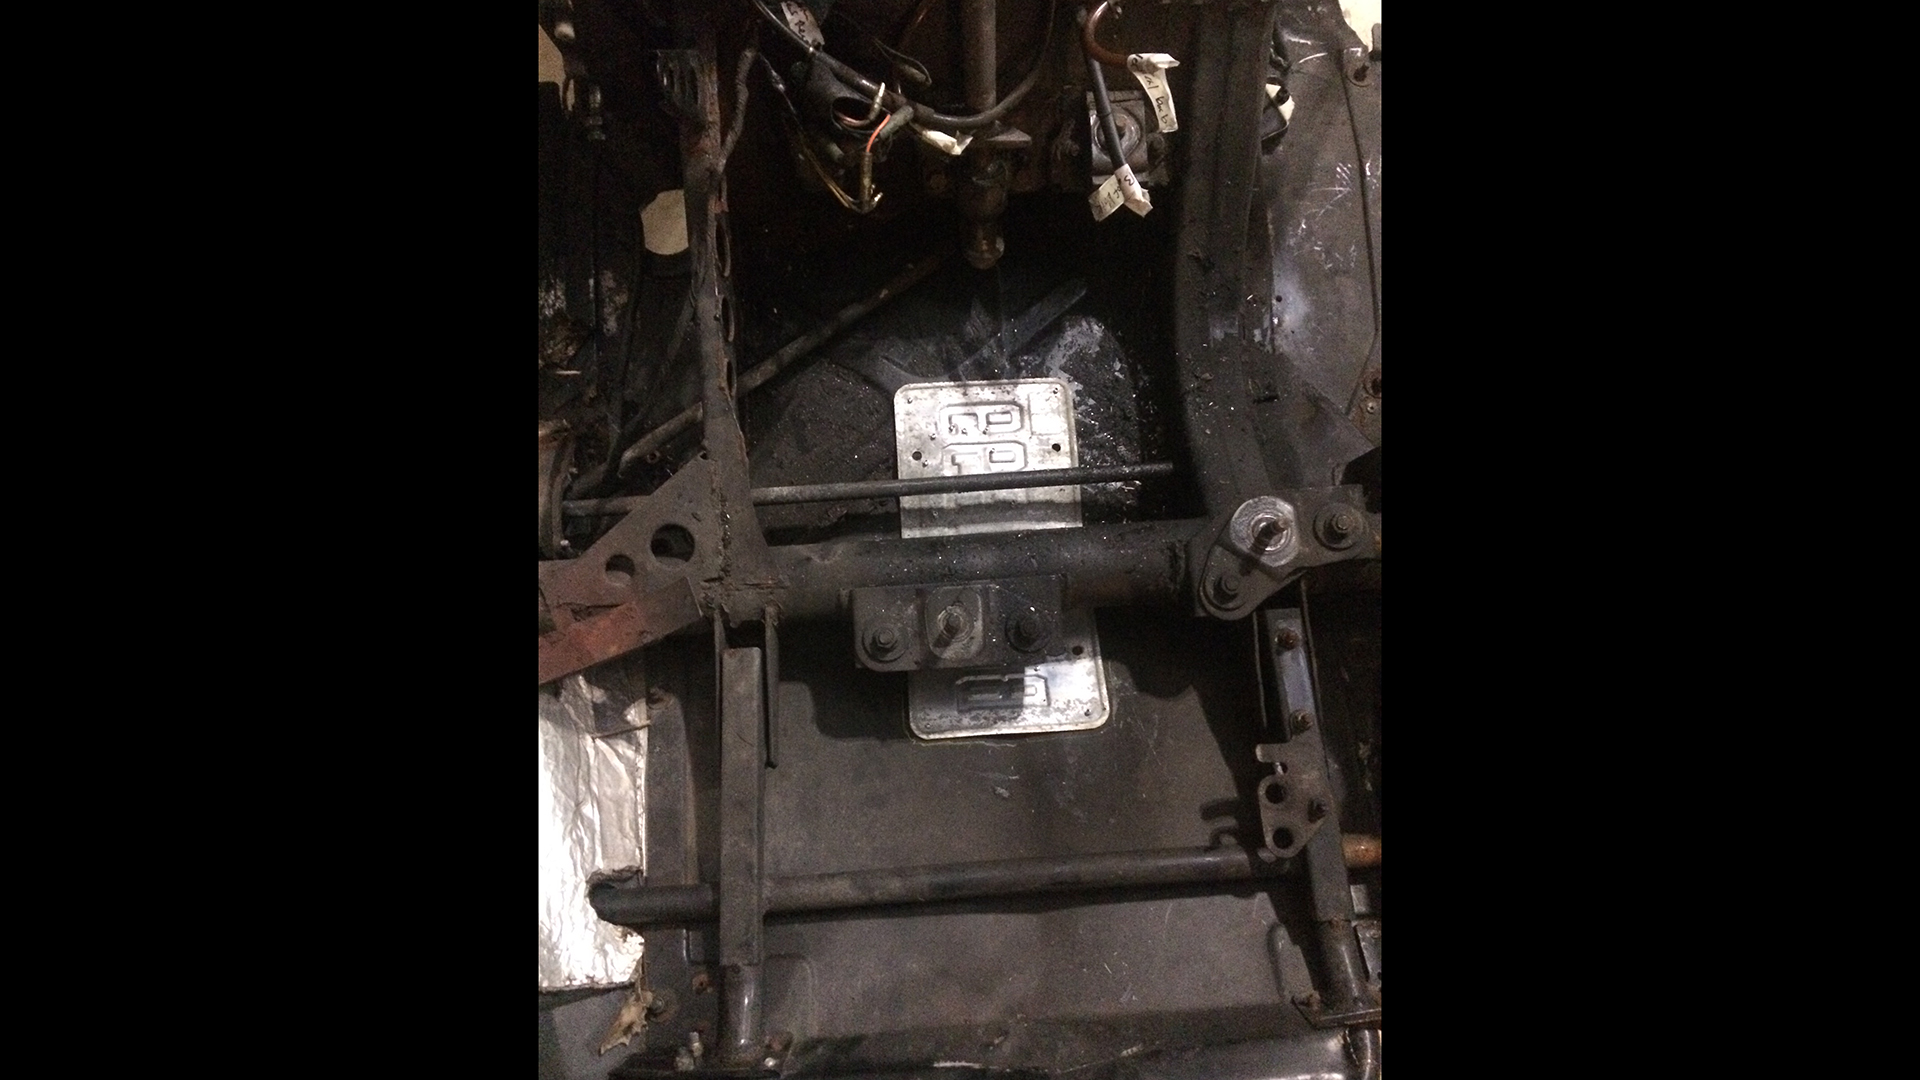
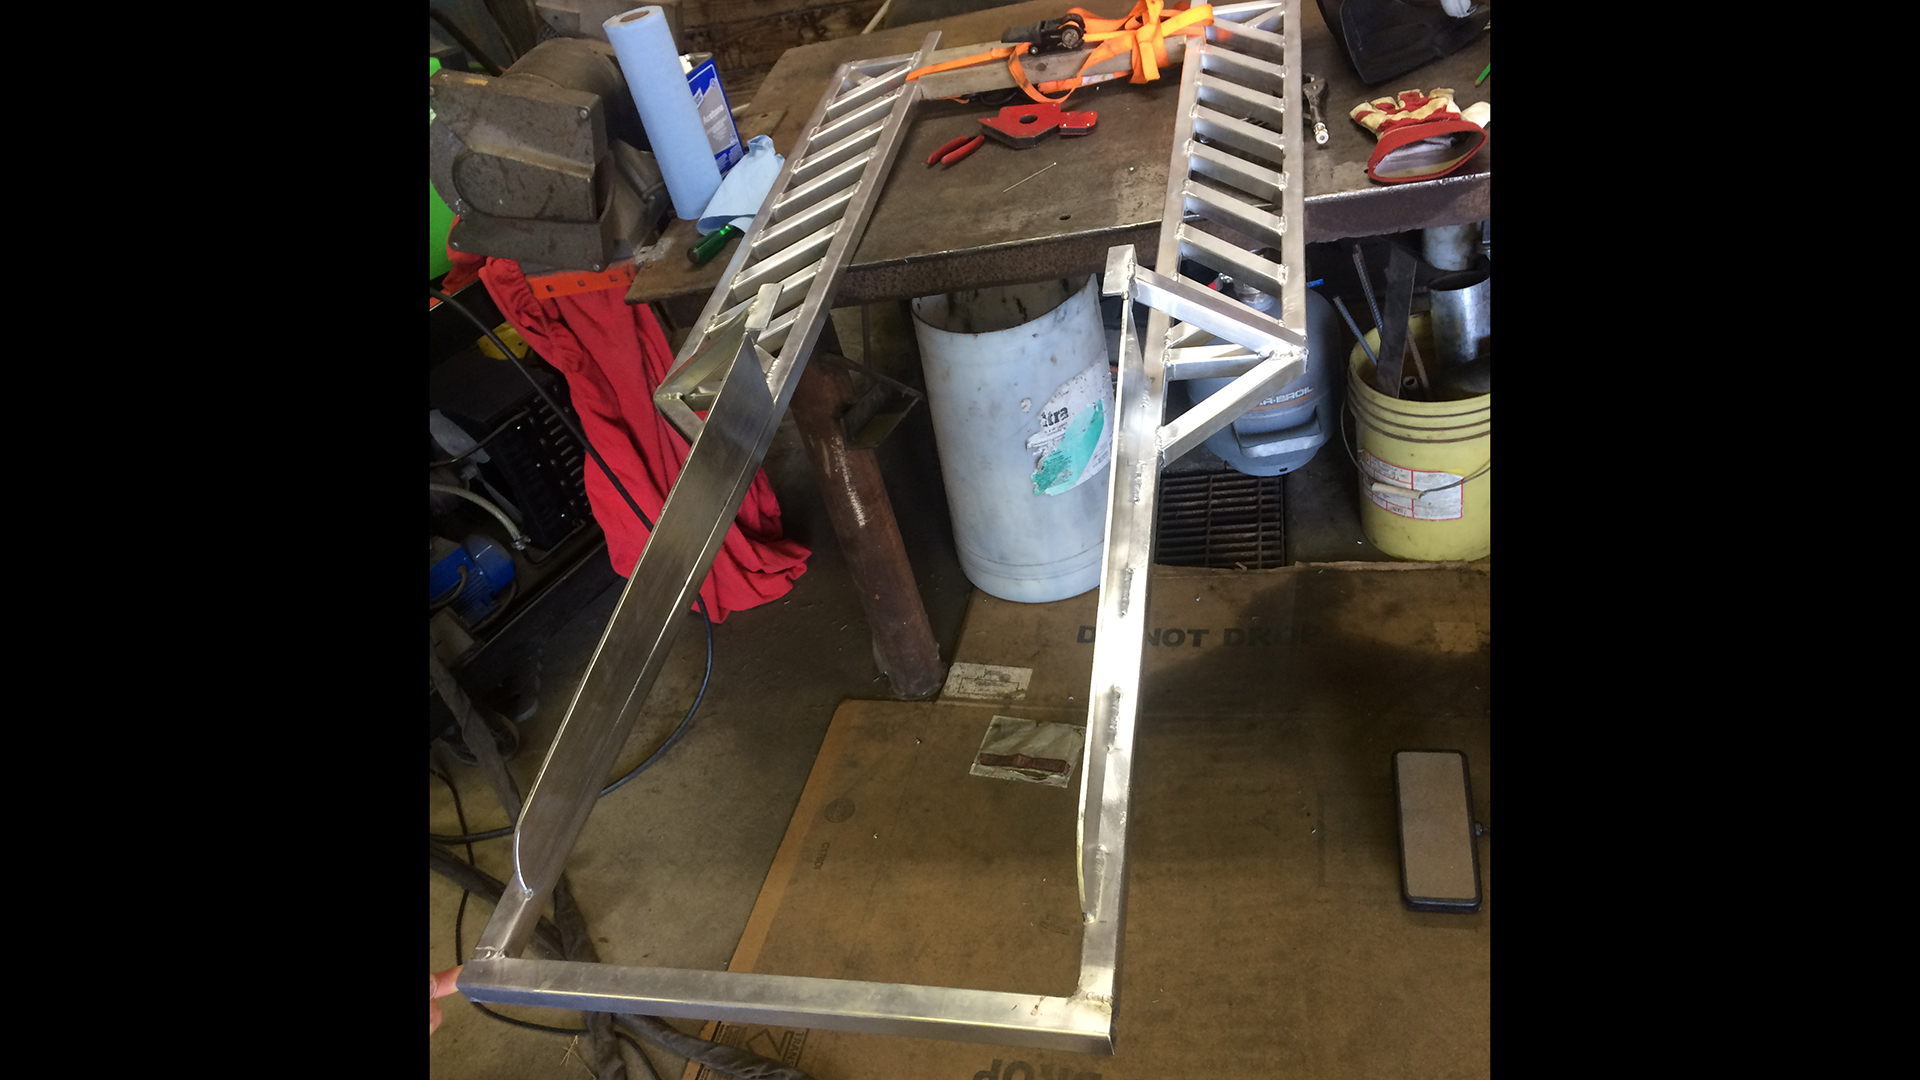
Tunnel/Chassis Modifications: RMK 151″ skid with reinforced custom mounts, custom 1″ aluminum square tube running boards/tunnel support with barn steel screws for traction, plastic board tunnel extension top (yes, it’s held on with tape). Skid was positioned with front end 1.5″ higher than stock in anticipation of plastic ski install with riser adapters, just haven’t done that yet.
Suspension: Sway bar removed, otherwise not touched.
Brakes: Stock setup, operated with YZ250F clutch cable
Finish – Paint: As-purchased. The sled got some awesome pin-striping sometime in its life, but the left side panel was replaced before I got it so it is unfortunately bare. I did try to carry the theme of red accents through the build, from red hyfax, handlebar grips, and running board screws, down to the red zip ties that hold the busted air cowling together.
Accessories: LED headlight, snowscreens (raised snowscreen on cooling air intake), electronic tachometer.

Share