Make, Model & Year: 1982 Suzuki GS 1100
Fondly known as: Zukasoreass Rex
Time spent: Nearly 8 years of parts gathering, 2 years of fabrication and assembly.
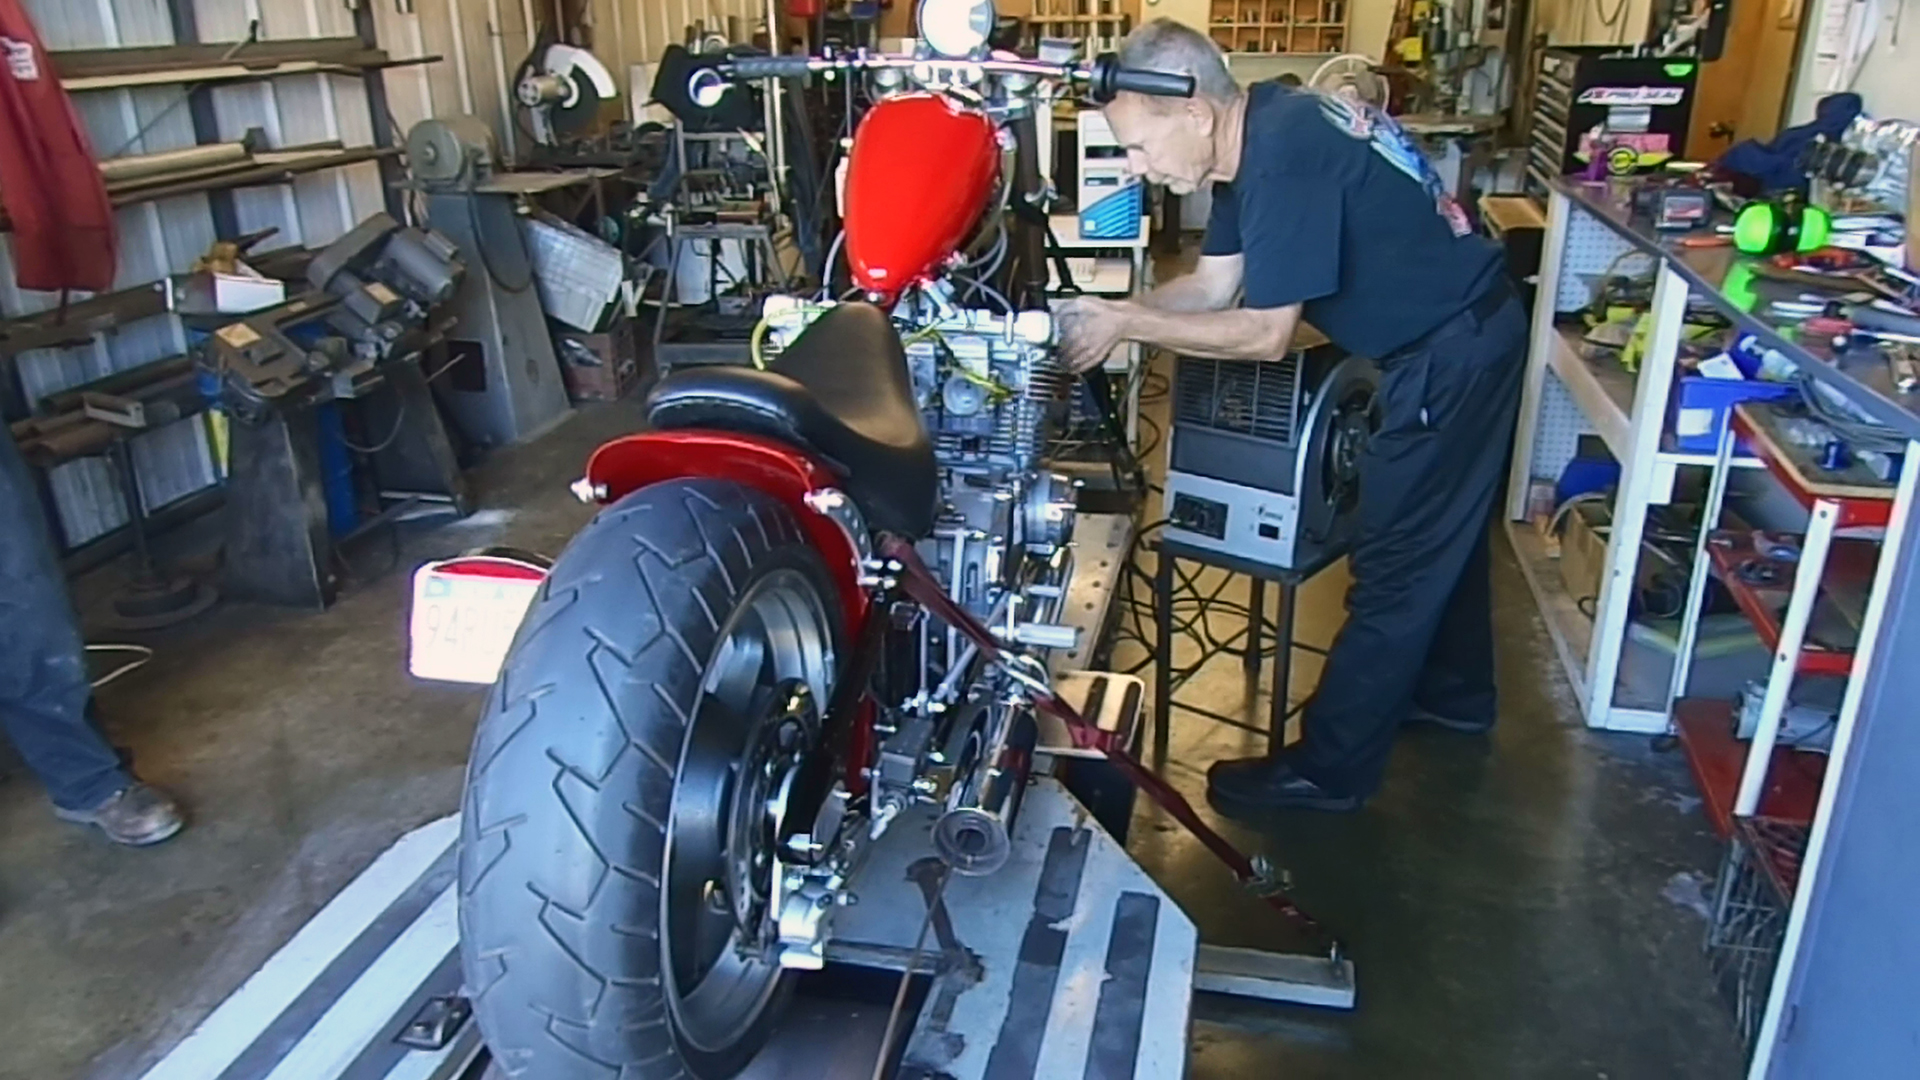
Engine: 1982 Suzuki 16 Valve 4cyl. Bored to 1168 cc. Fast By Gast installed oversized valves, mild street cams and assembled the engine. I wanted something reliable and strong. We broke it in on the Fast By Gast Dyno. It made 108 hp. @9000 rpm at the tire.
Intake: For mostly street use a set of RS 38 Mikuni flat slides work very nicely. When I want a few more horsepower, I have a set of Fast By Gast Lectrons that really work at higher RPM’s.
Exhaust: I was lucky to find a Vance & Hines Pro Stock Exhaust from the early 1980’s. The street headers that are available would never work as low as my bike sits. The sidewinder pro stock design just needed a pipe and muffler to replace the original open megaphone.
Transmission: Fast By Gast undercut the gears and assembled the otherwise stock transmission.
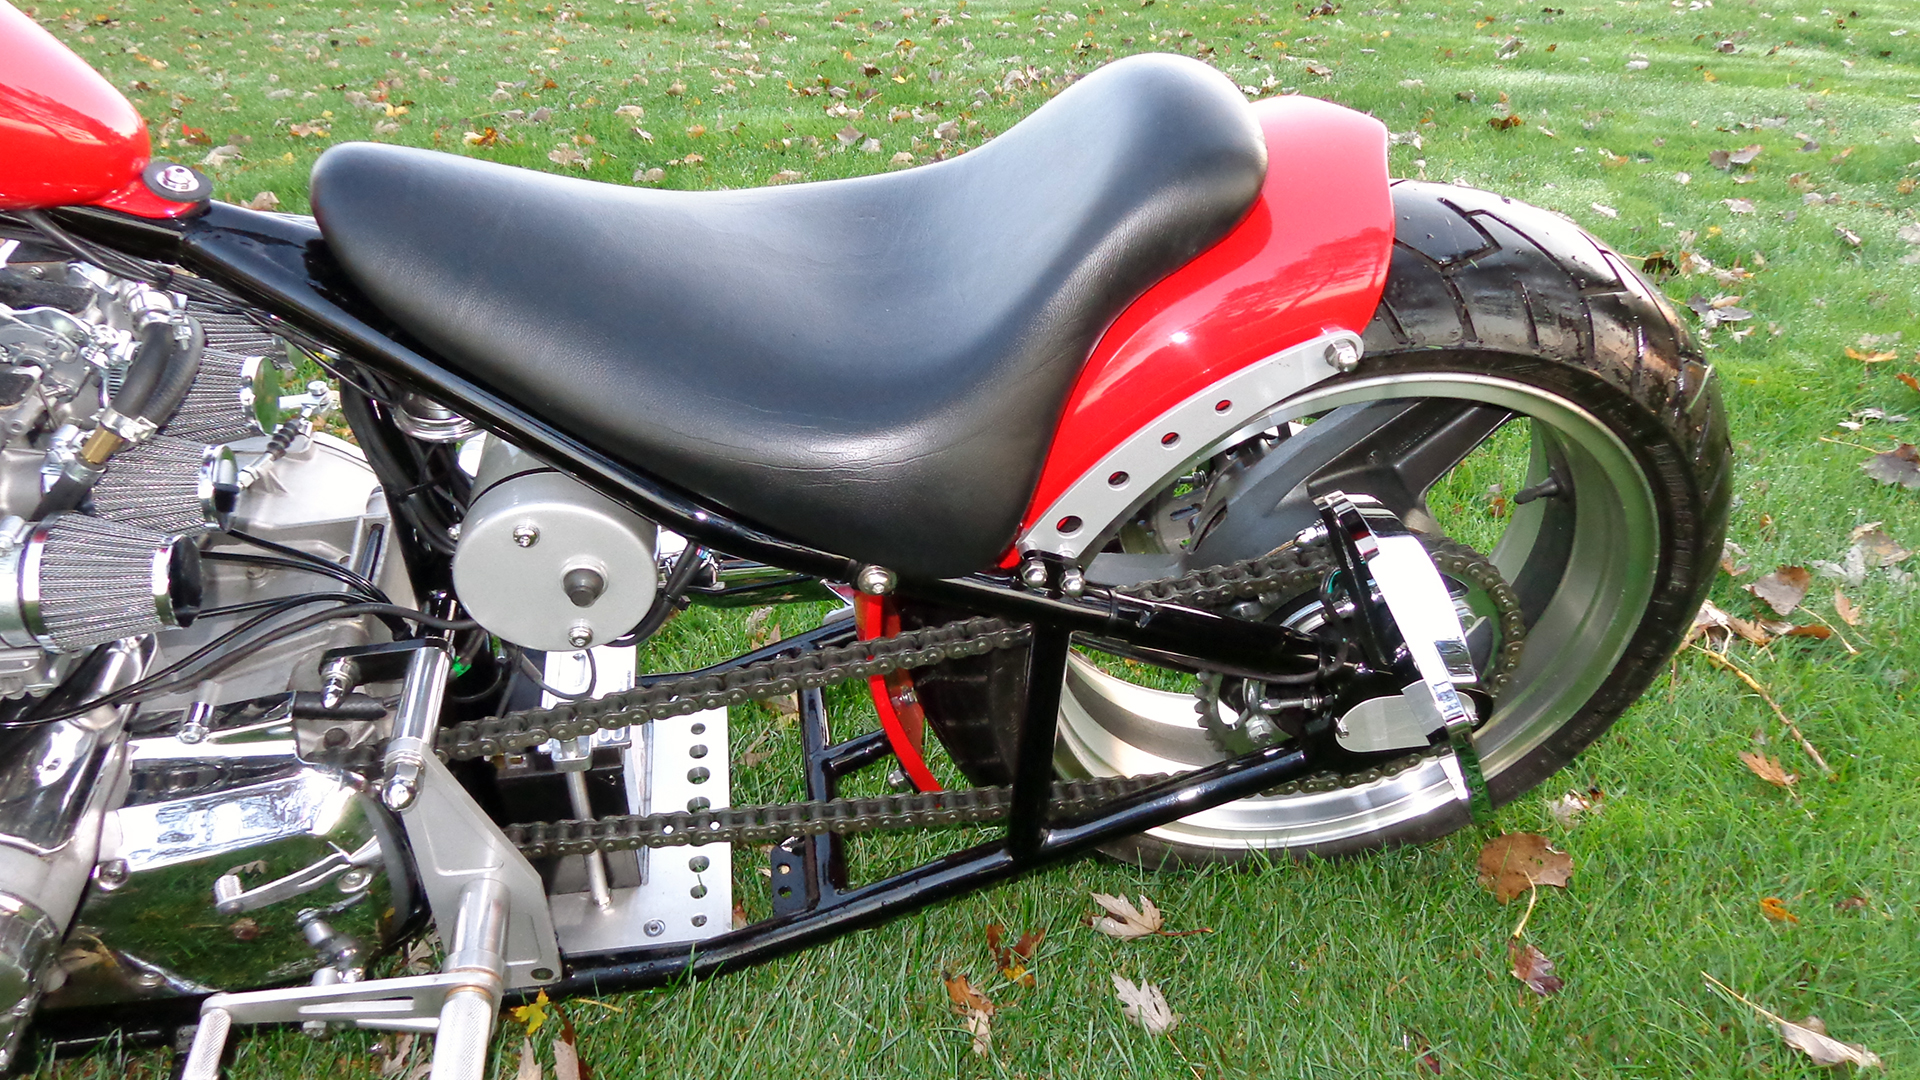
Frame: The frame is a combination of a couple different chassis. Pieces from some old no name aftermarket rigids, some stock chunks and assorted tubes and plates. I put things where I want them and tack them in place with a small Mig welder. Then it goes to Torelli Pro Cars in Lockport, NY, where John Torelli tig’s everything together and makes it safe and strong.
Suspension: It’s a rigid. I wanted it low. Using Kawasaki Ninja forks, front and rear wheel. I set my frame up so the bottom tubes would be level given the length of the fork tubes and diameter of the wheel and tire combination. The rake worked out very well as the bike tracks straight as an arrow at speed.
Wheels, tires and brakes: When it comes to brakes, wheels and forks, I’ve always felt it was hard to beat factory engineered stuff , especially for the price. I knew what I wanted so I watched ebay and scored everything I needed from some parted down Ninja’s.
Finish – Paint: The black on the frame and the red on the tank and fender was applied at Mongielo’s Automotive Specialties in Lockport, New York. I do the body work and prep but I leave the important shiny stuff to the pros. The rest is spray can, buffing and polishing.
Accessories: It’s impossible to remember exactly where all the parts came from after so many years of ebay and swap meet shopping ? TC Brothers, Bare Knuckle Choppers, Baron Custom Accessories , Steves Custom Cycle, Fast By Gast and of course Dennis Kirk have all figured into this project at some point. Nobody puts a project like this together without a lot of input from others. Obsolete outdated parts are getting harder and harder to find. Many of the parts I used are 20 to 40 years old. I have a small lathe and mill and worked as a Machinist for many years, without that, I could never have finished this project.






4 Comments
Hey Rick…how about sharing all the details…I know there is a lot of custom fabrication that went into it.
Looking good.
this may be the second most beautiful thing I’ve seen
What was the number one best thing ? Keep it clean ….
5