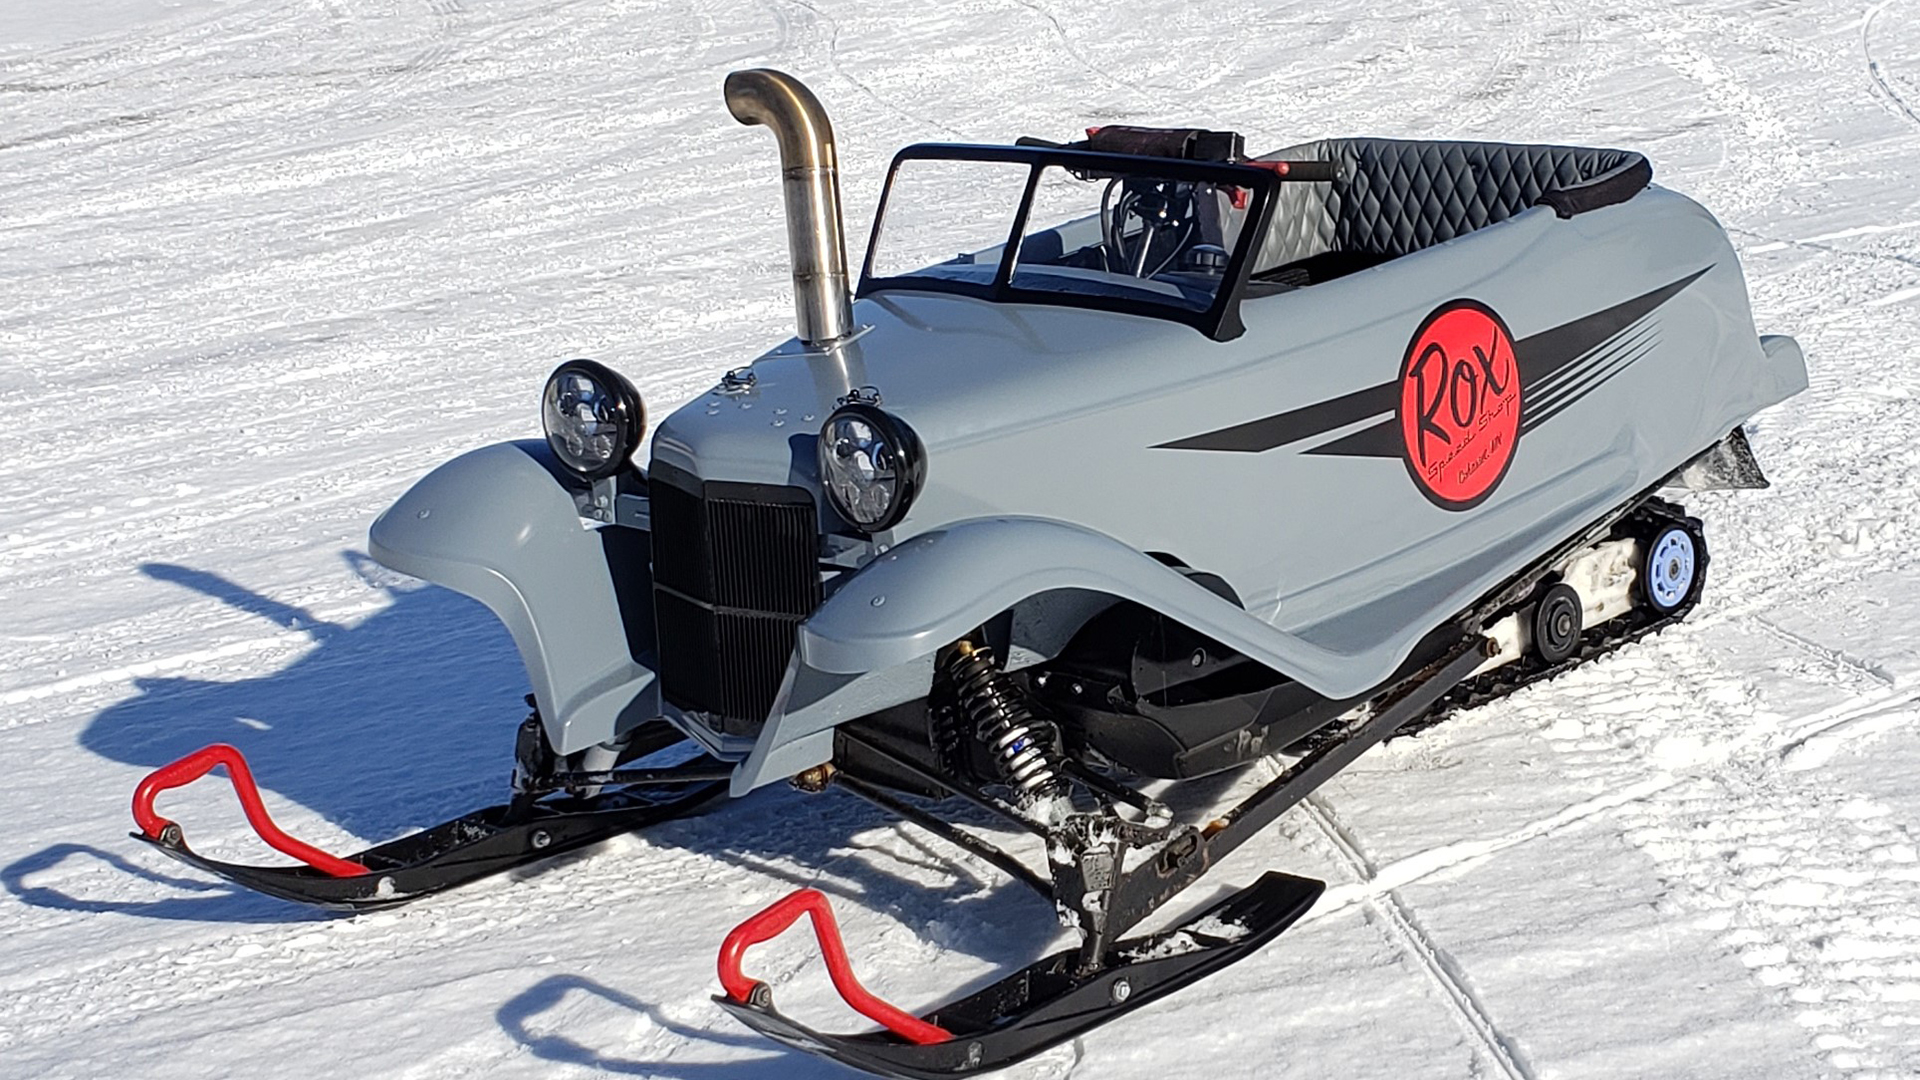
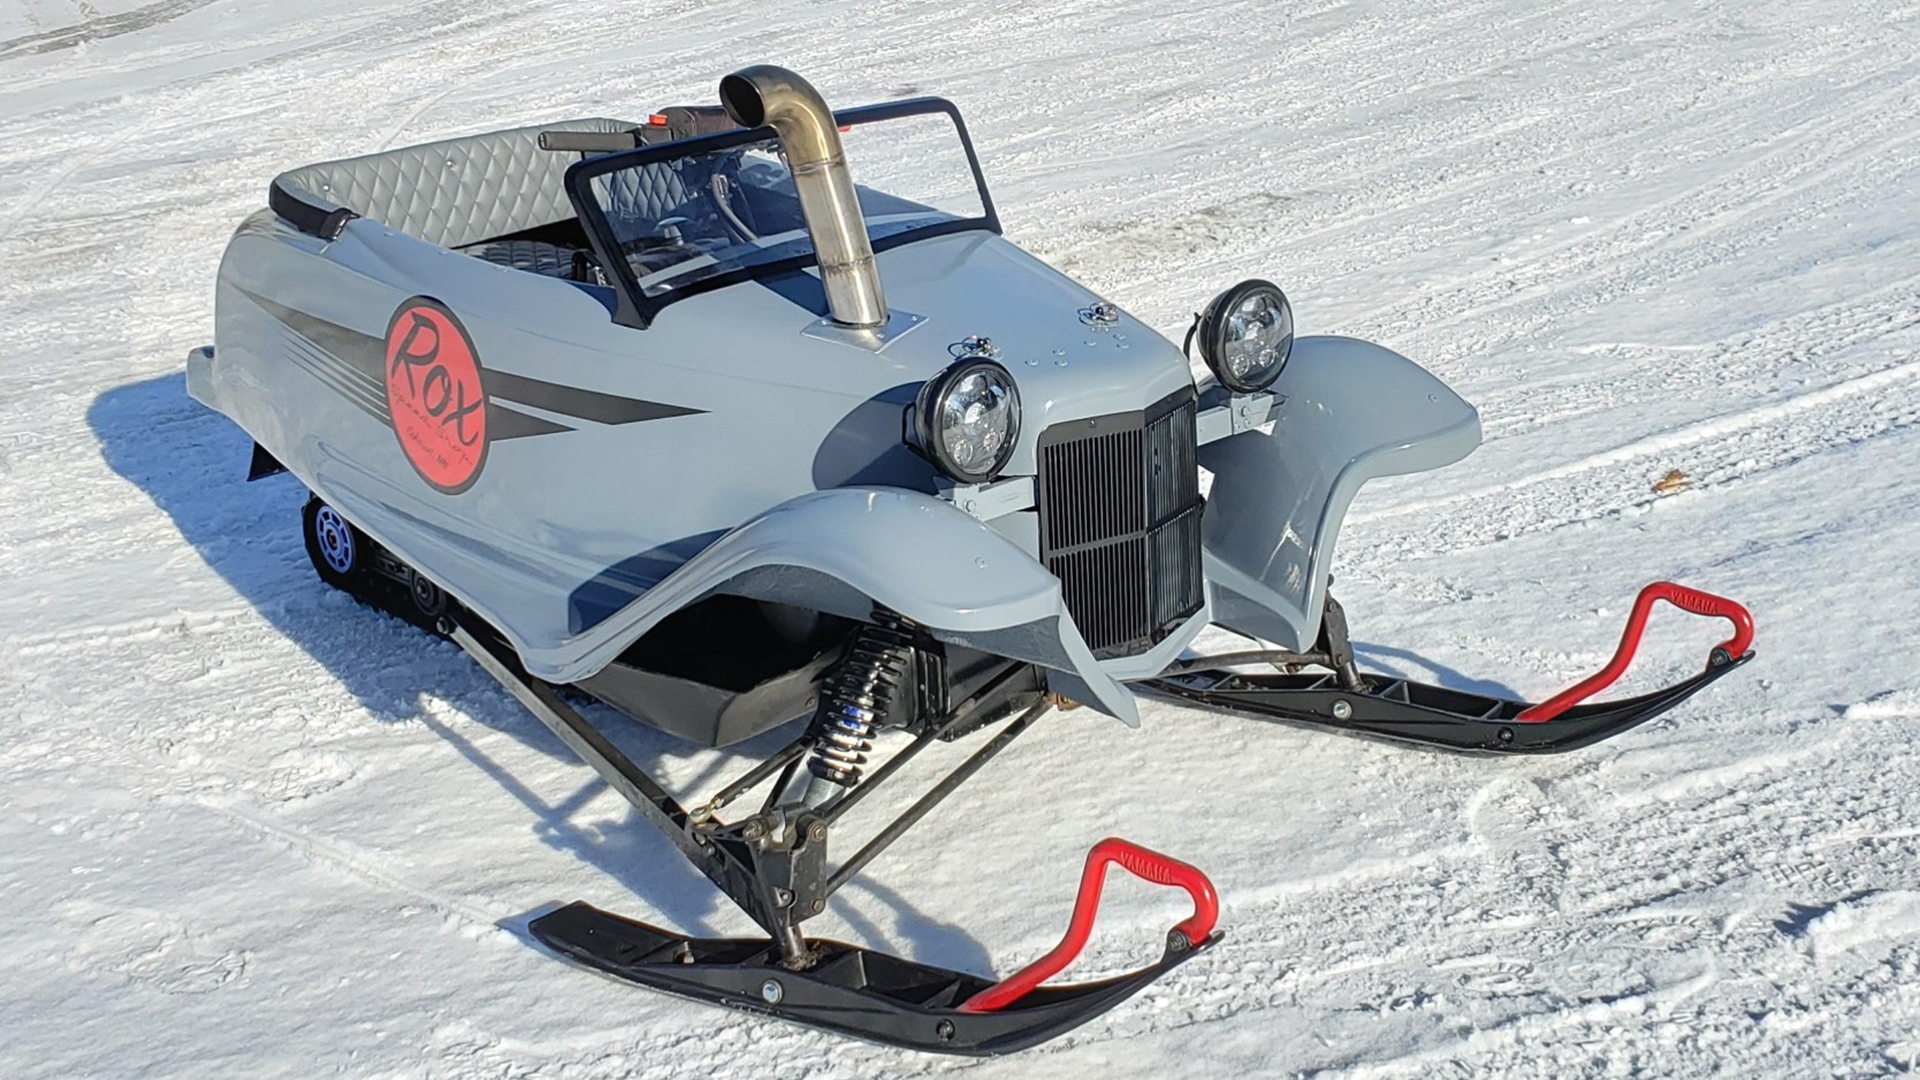
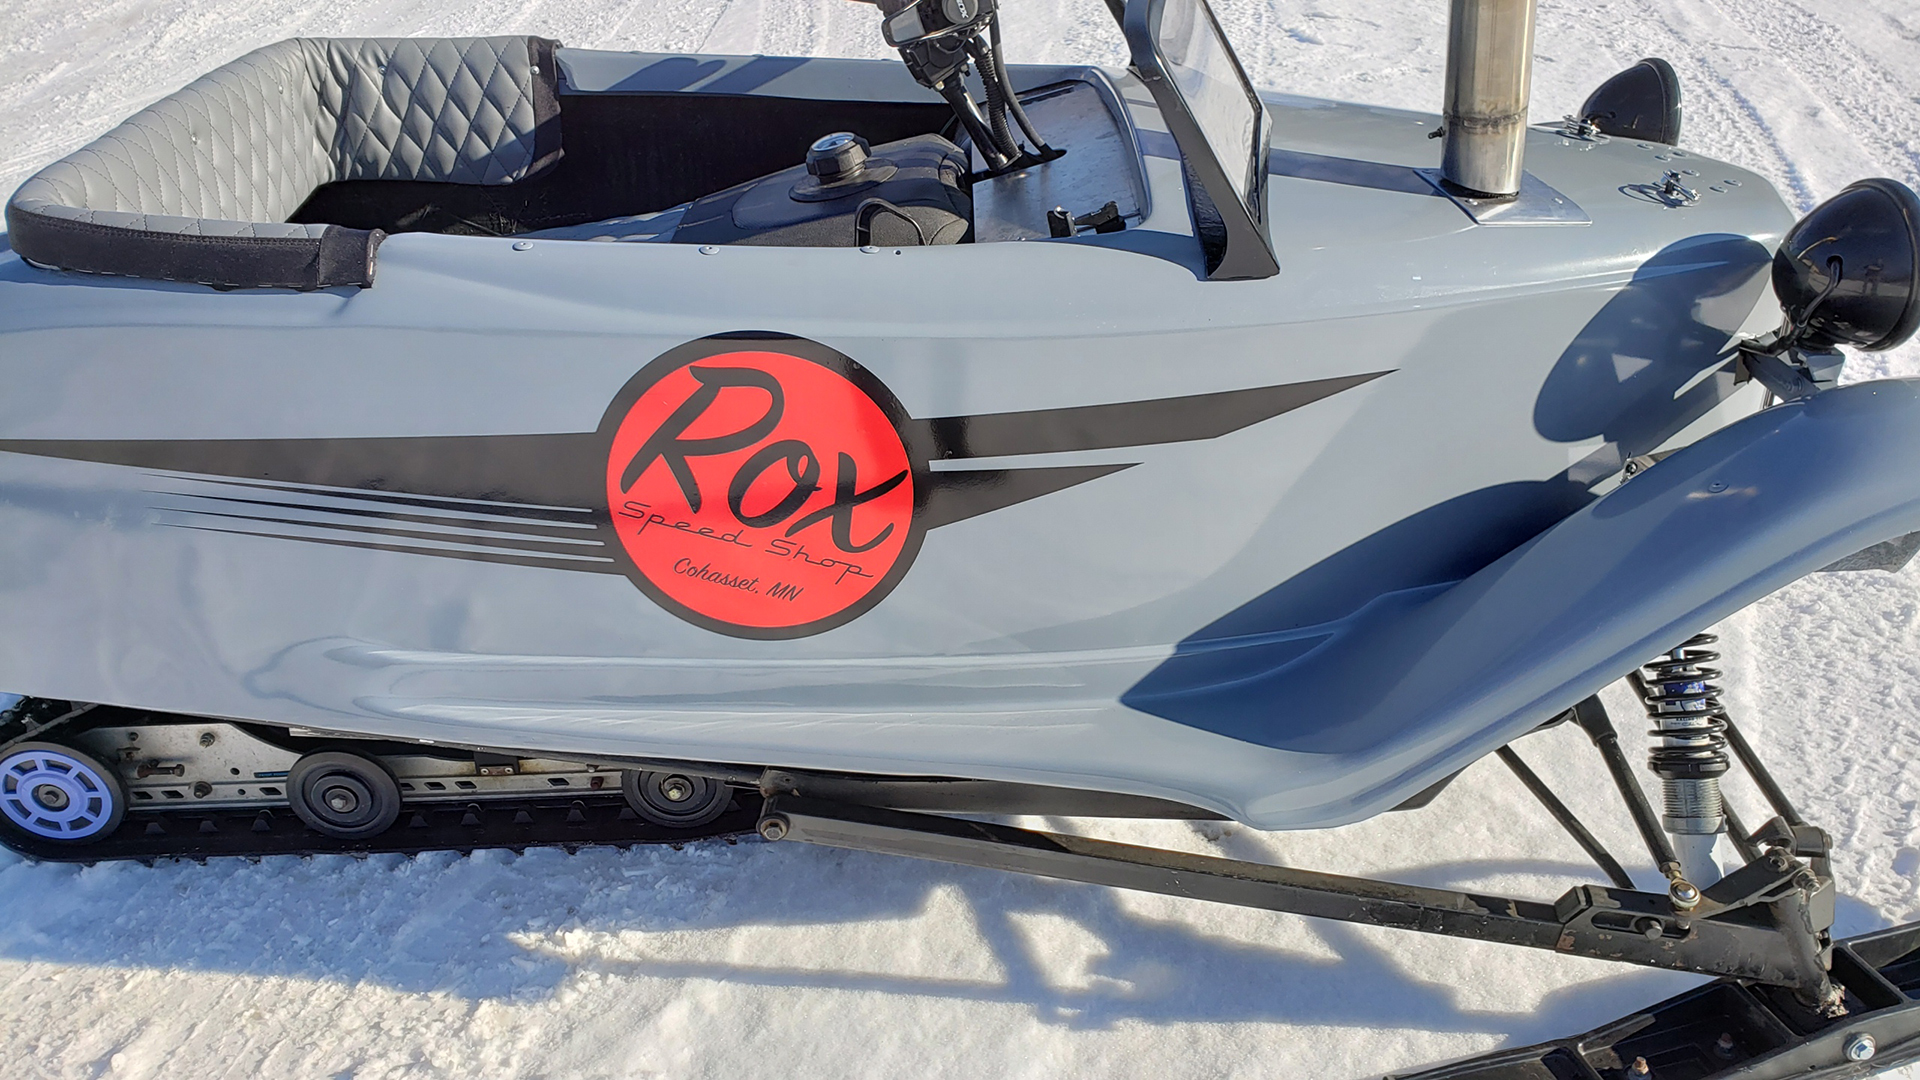
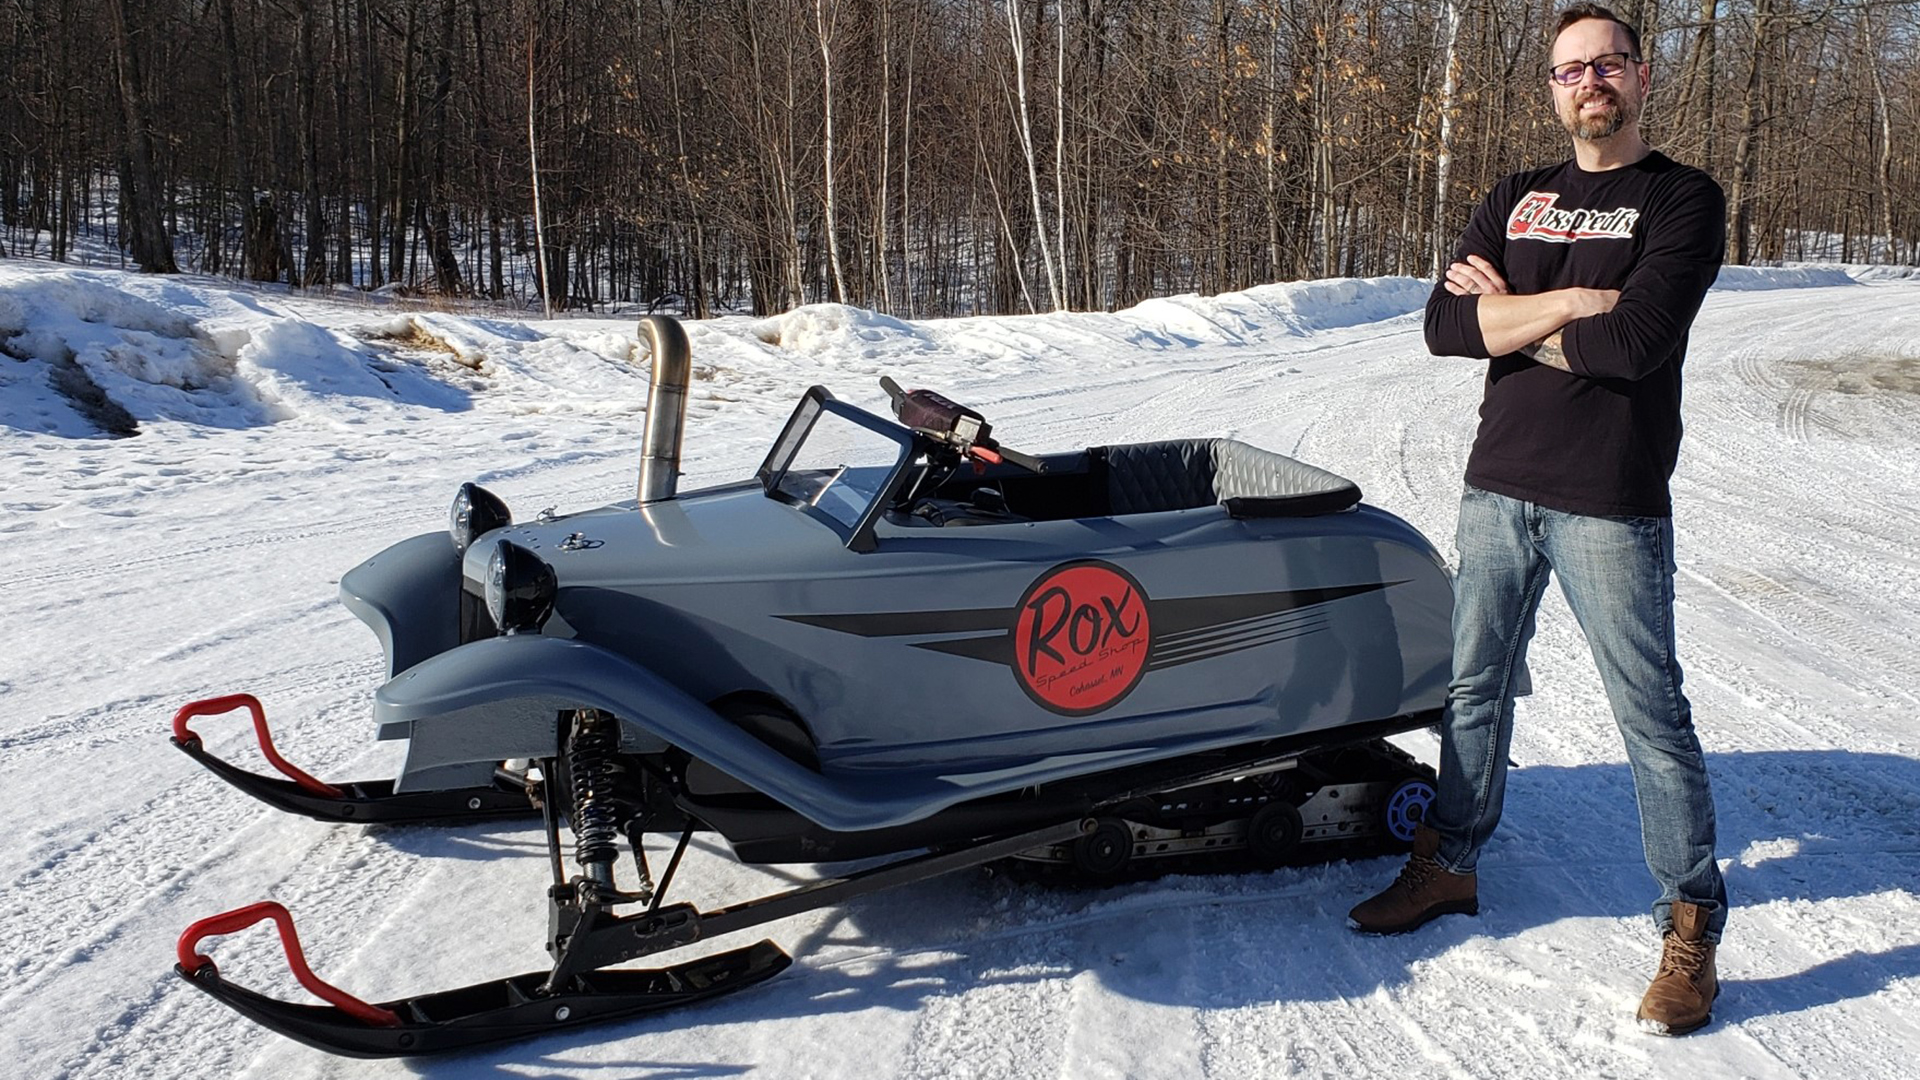
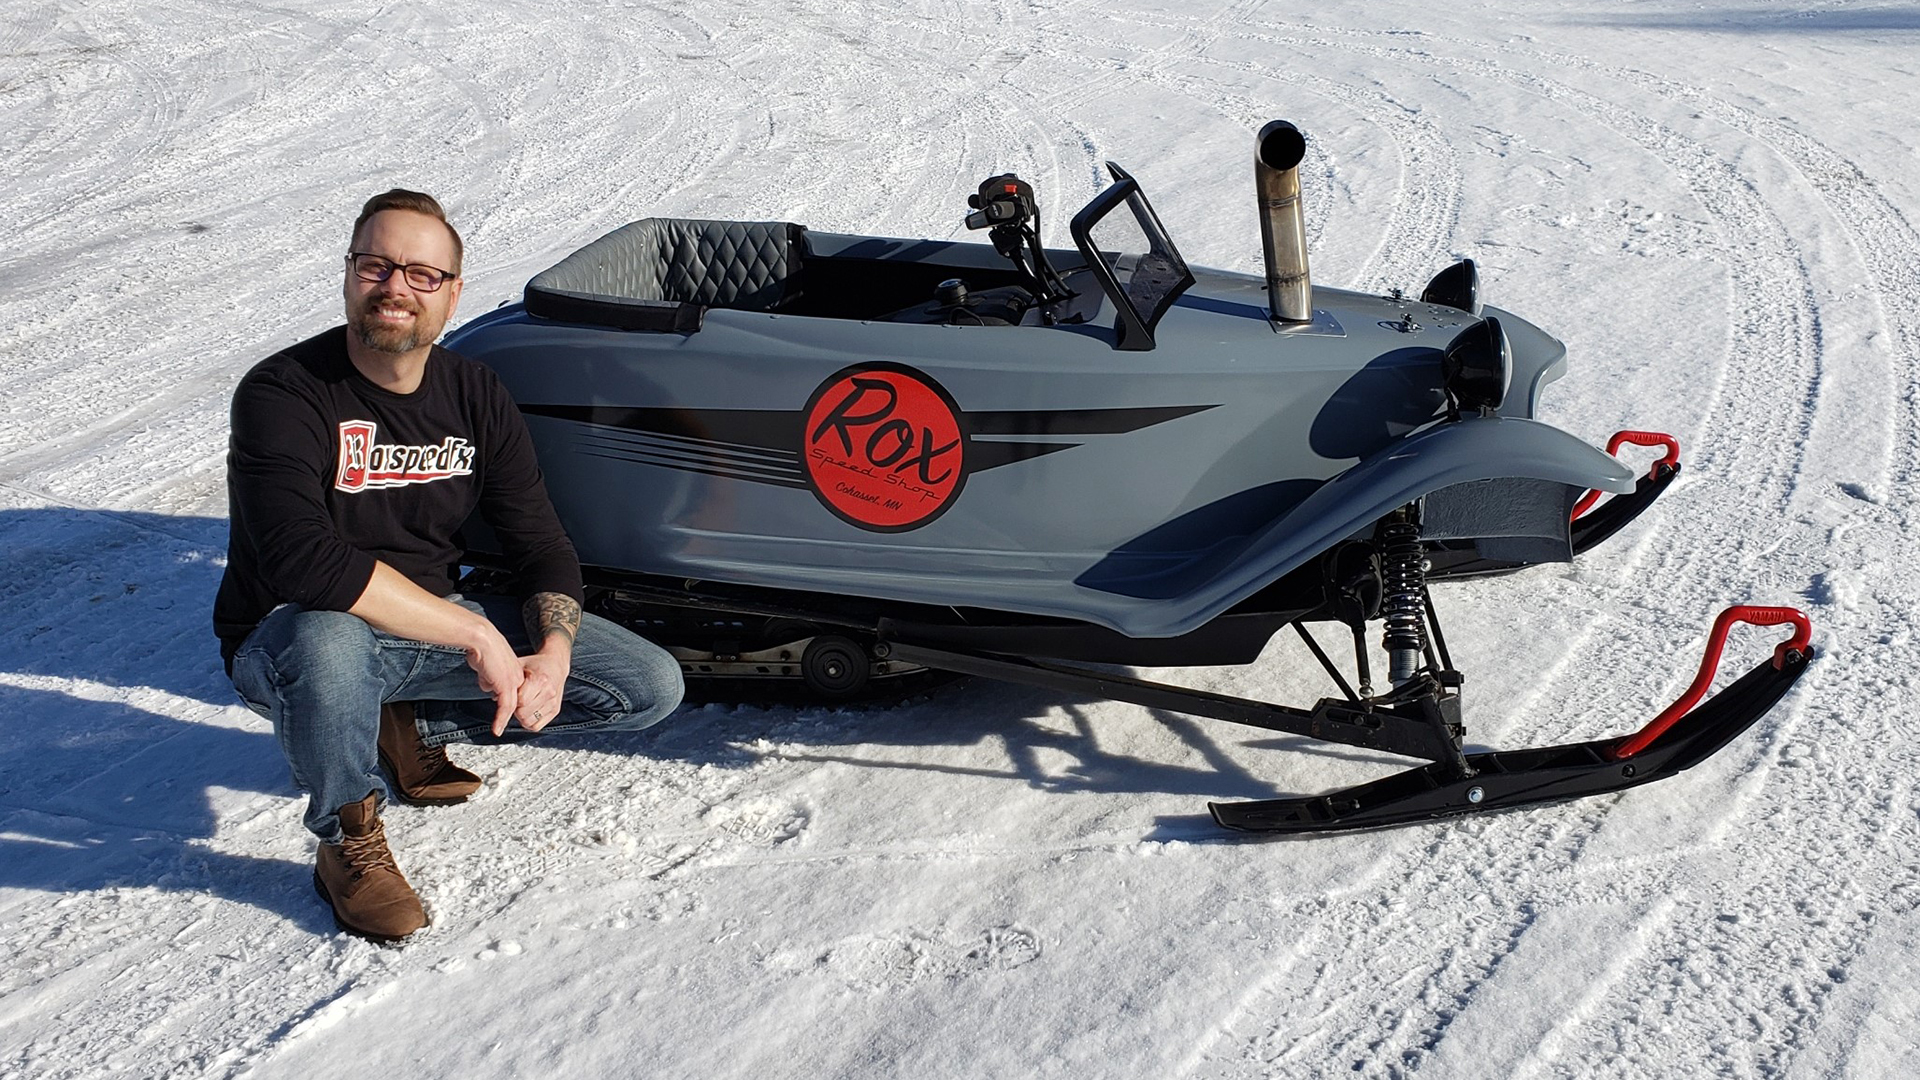
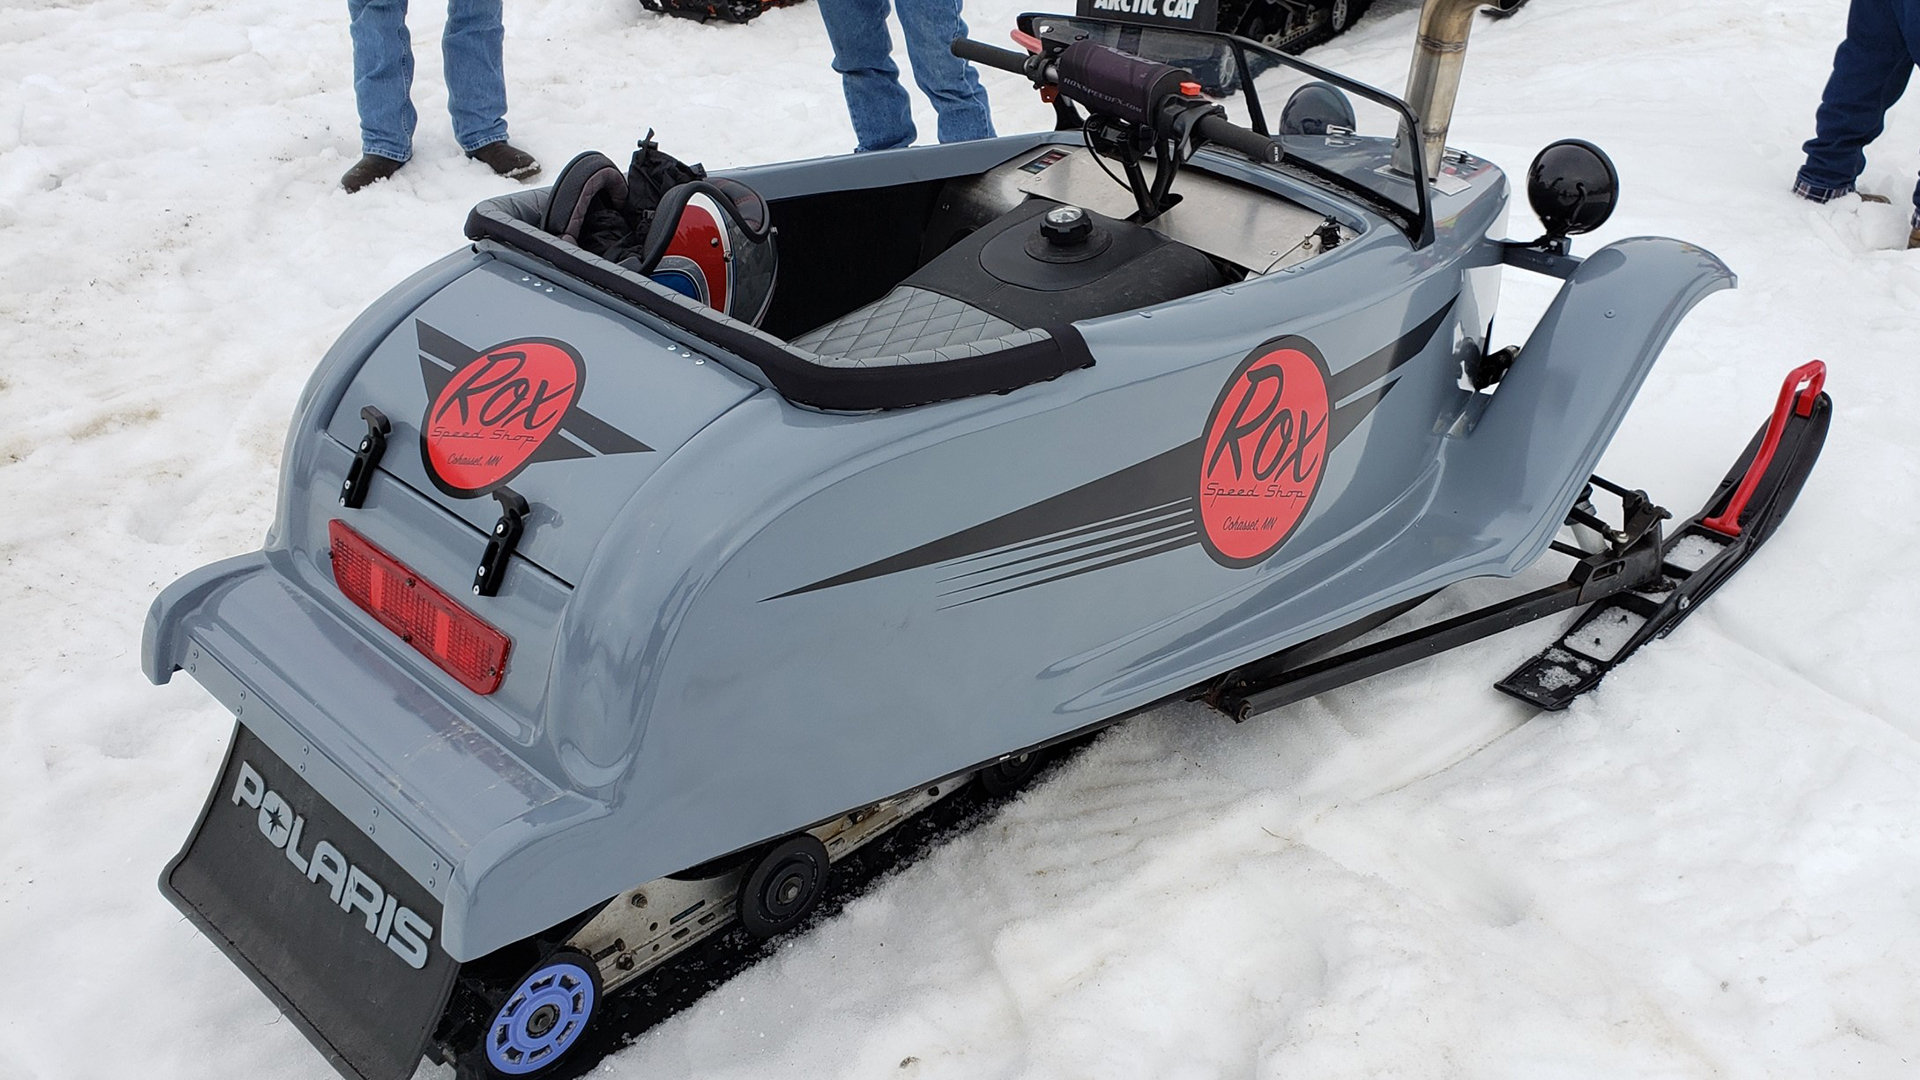
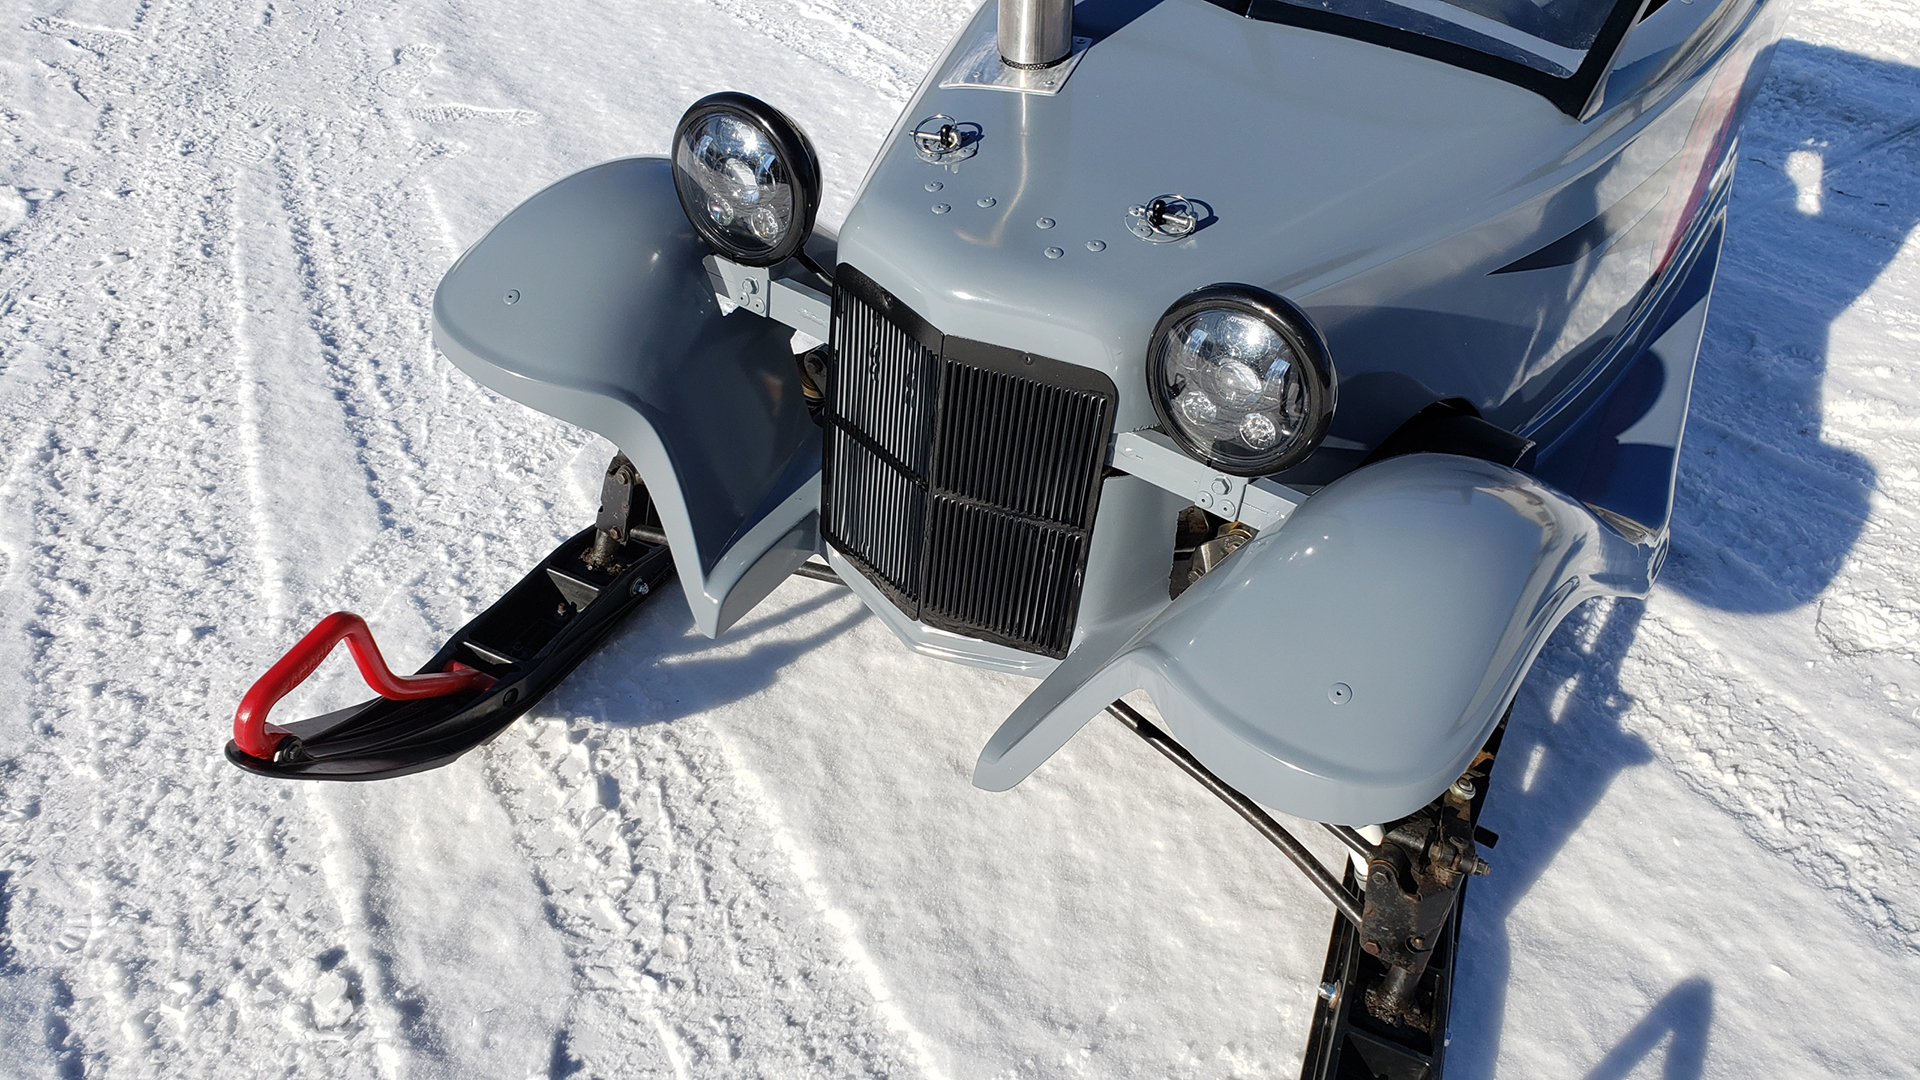
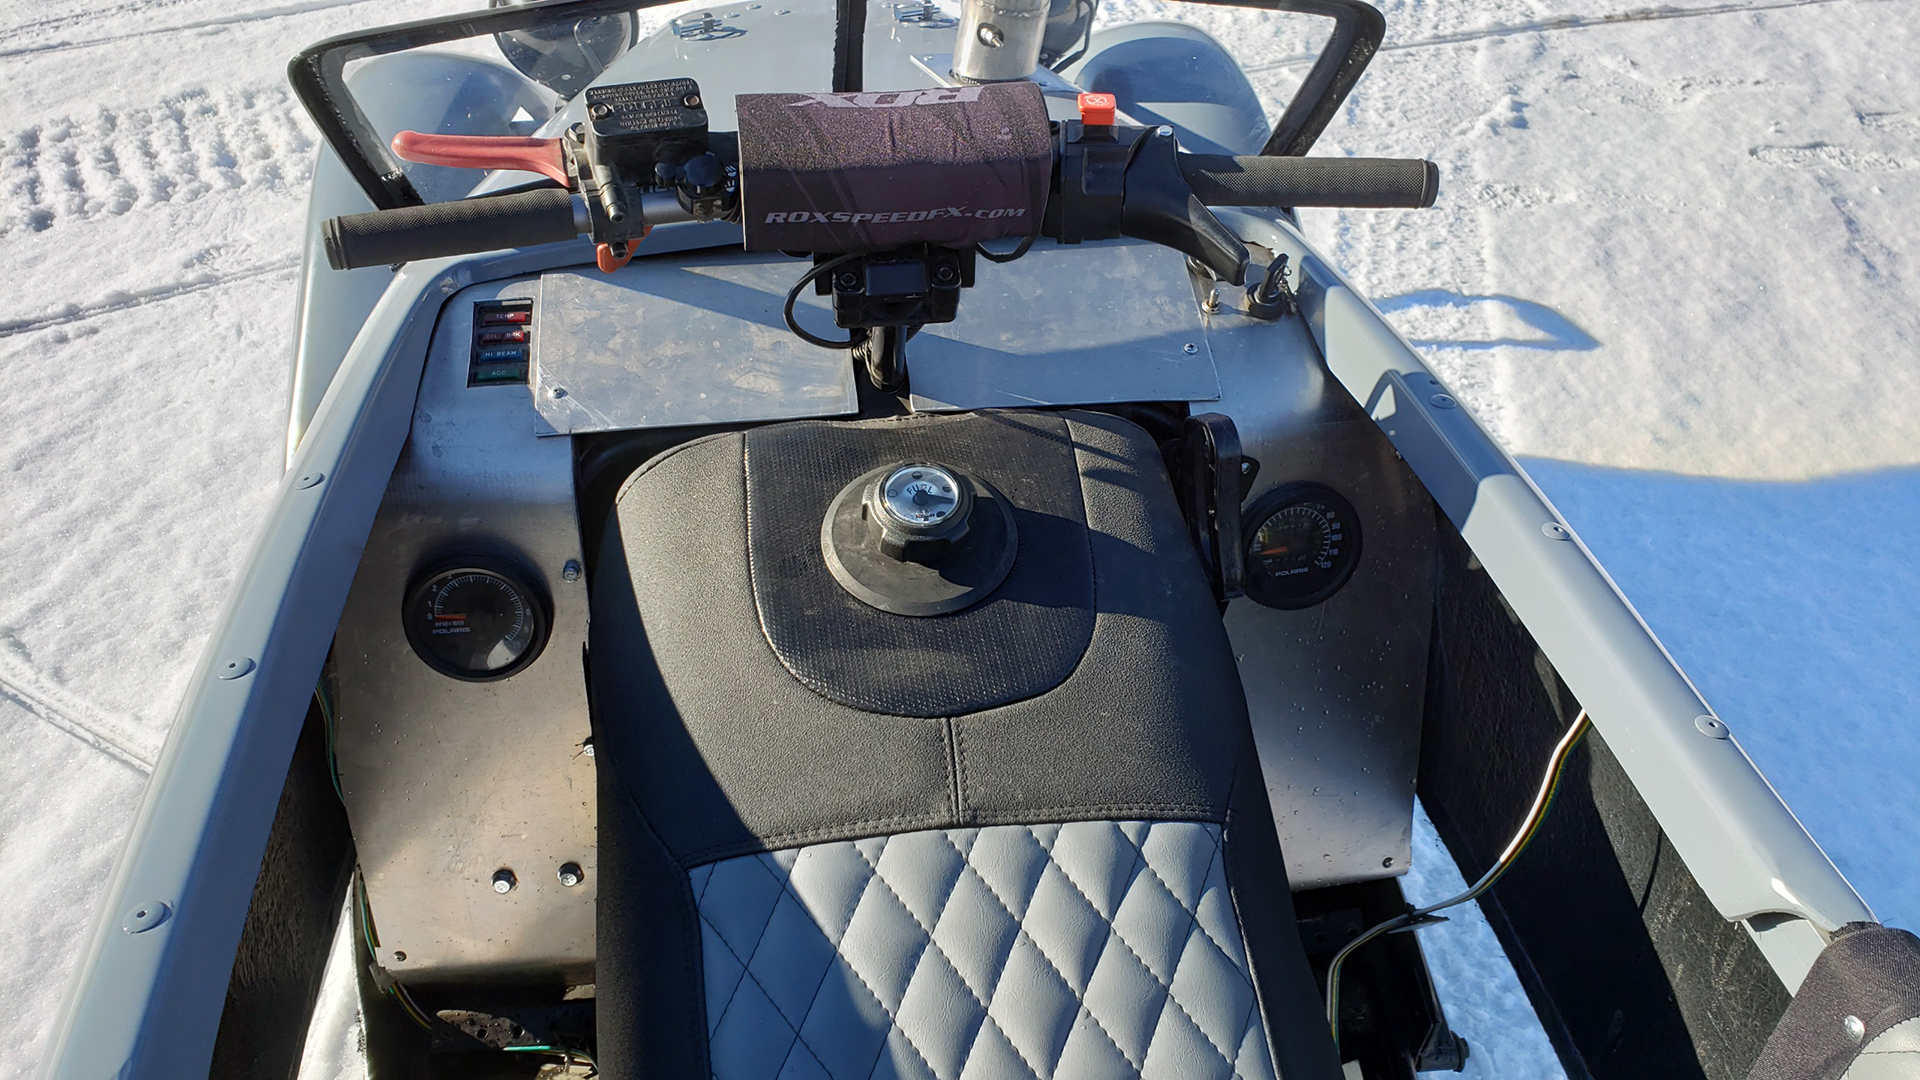
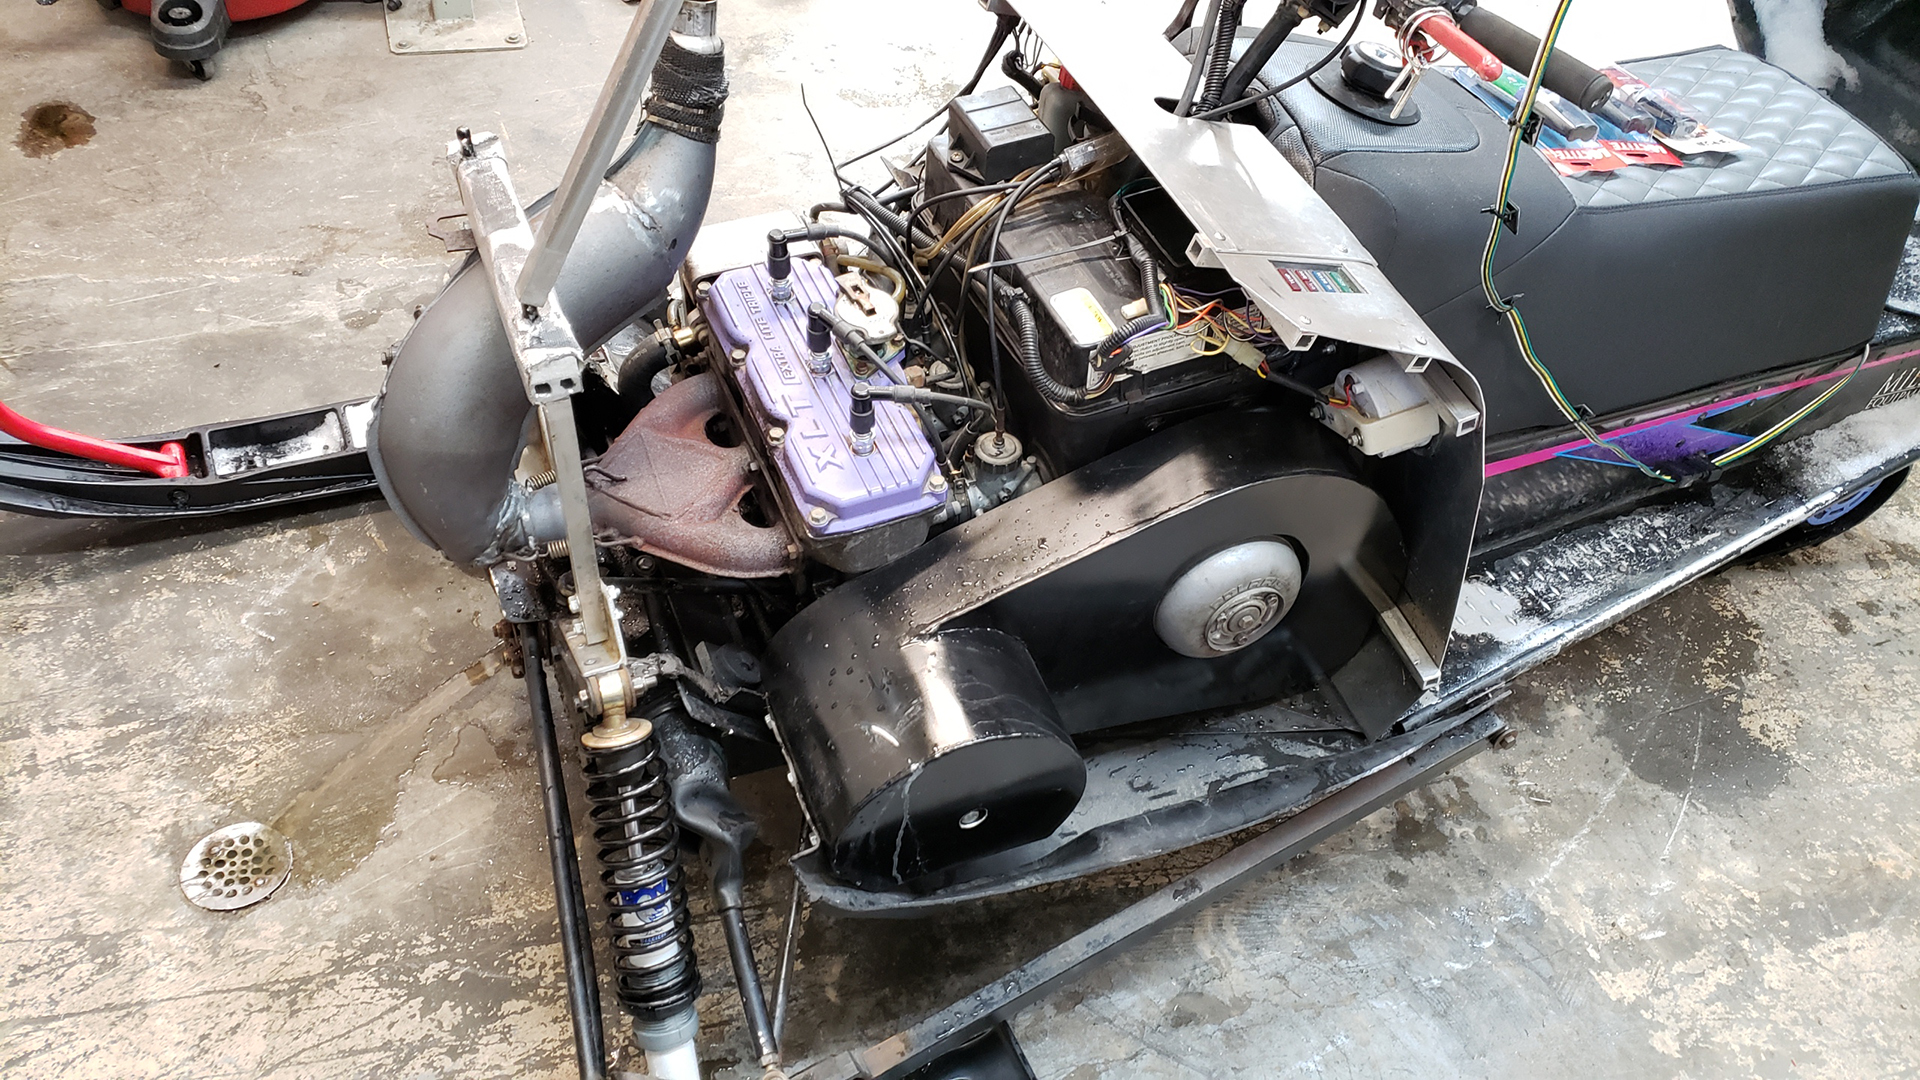
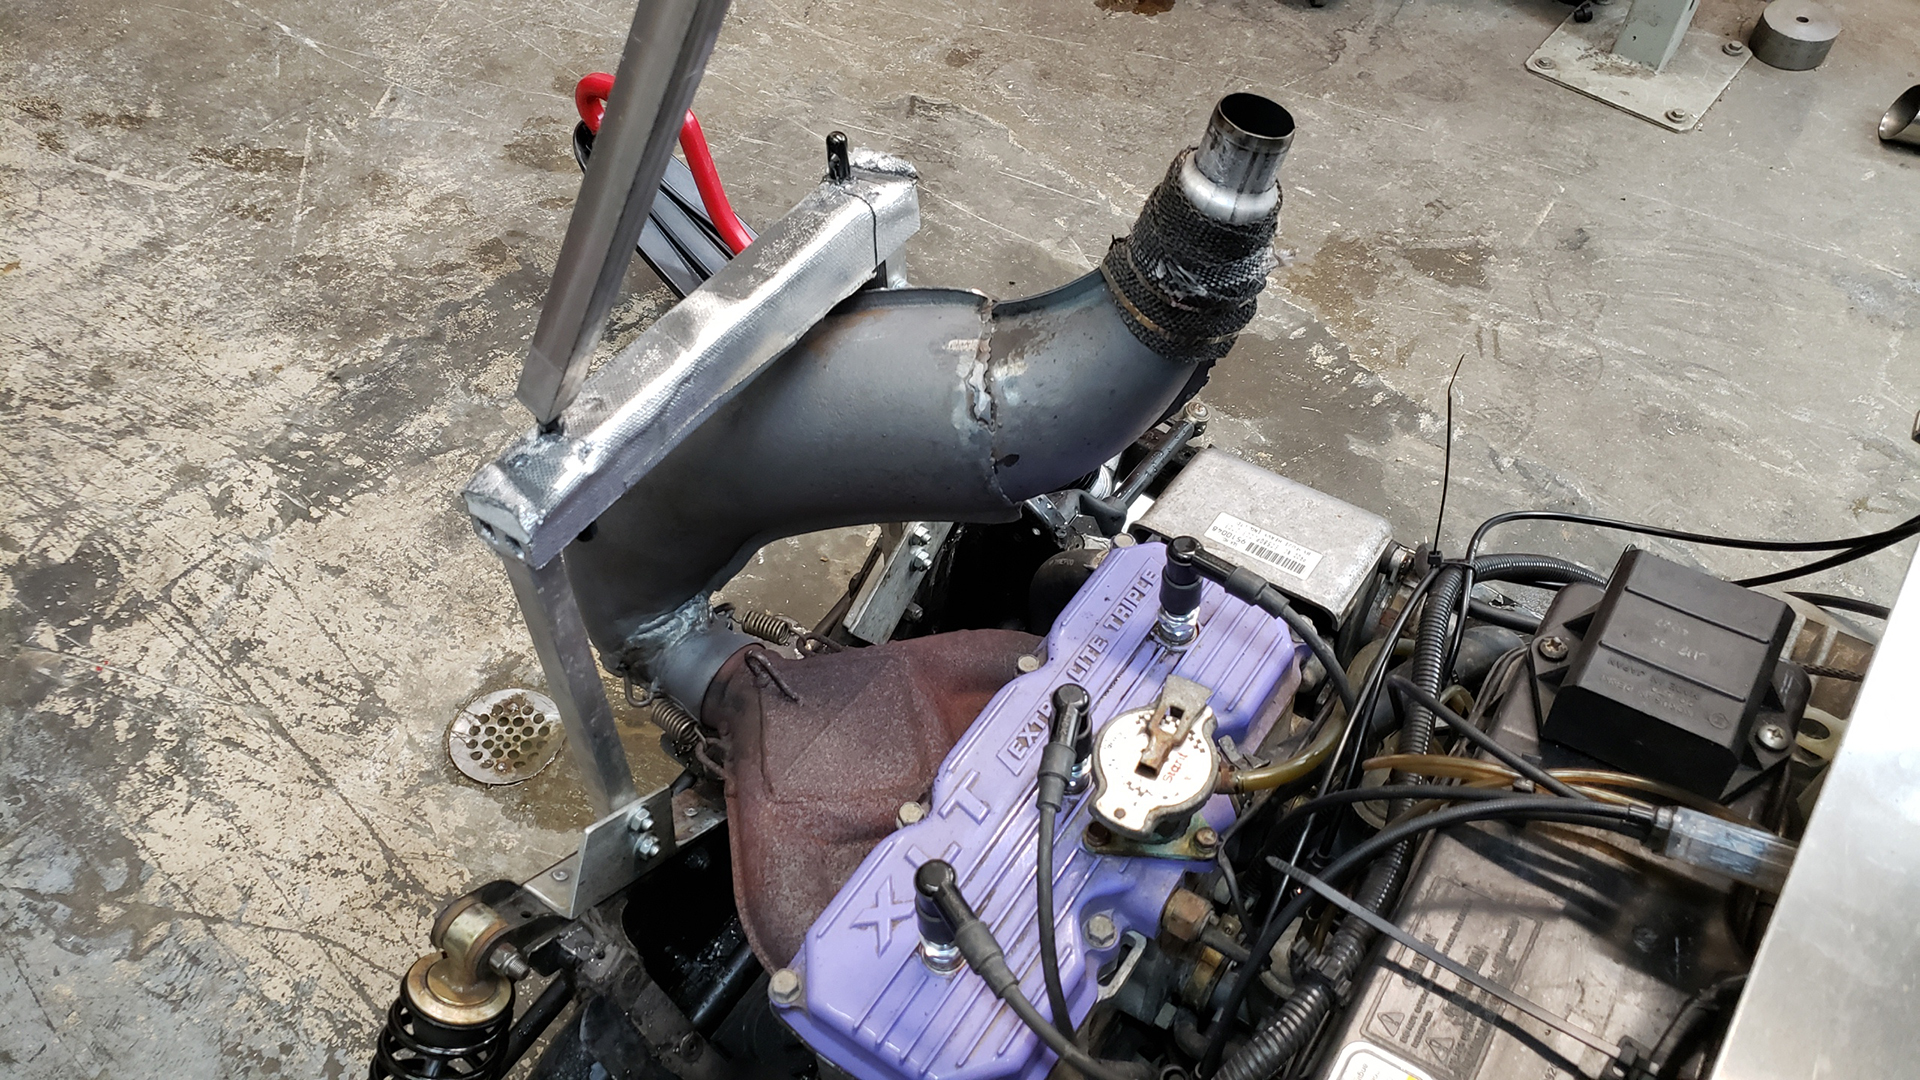
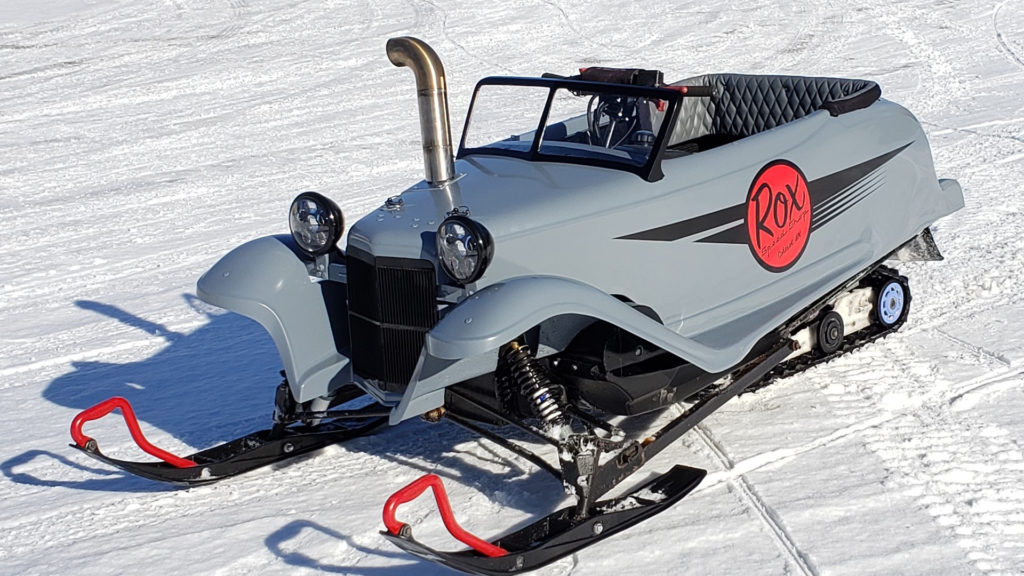
This sled is a go cart body heavily modified to fit on a 1995 Polaris XLT 600 Special. To get the length of the body to fit the sled had to have the tunnel cut down at least six inches. Which made me cut the seat to be 14” shorter. On the body, the wheel wells were removed in the rear and covered with fiberglass, to get a better-looking body line. An aluminum structure was built that is riveted to the body and bolted to the sled. This gives the body more support in rough trails and when jumping road approaches. The front end of the body is narrower than a snowmobile so the engine tub was cut down to allow the body to fit over it. This removed all the clutch protection from the sled. I made a clutch cover out of aluminum and bolted it in to prevent slipping from snow and prevent a broken belt from doing any damage. When getting rid of the hood, it forced me to move the gauges and warning lights. Supports in the fire wall area were made out of aluminum and then had bolted aluminum plate to the supports to cover the engine. This gave me a place to mount the Tach, Speedo, Warning Lights, Hand Warmer Switch, and Choke. All these items still function. We also had to come up with new lights since removing the hood. A set of 7” LED bucket lights that are mounted on the body subframe. They are bright and work with the OEM light switch. The XLT brake light is reused and flipped upside down to make it look better on the sled. It has a set of ROX Mini-X aluminum handle bars with a 2” ROX Riser to get it above the windshield. This addition makes it more comfortable to drive. Another issue with the bodies narrow front is that the OEM expansion pipe would not fit under the hood. I looked at a lot of options, from not having an expansion chamber to paying thousands of dollars to have Straightline Performance Inc build a custom exhaust. It was decided to keep the OEM expansion chamber. To keep it, the OEM expansion pipe needed to be modified to make it fit. It was cut in 2 places and rotated to come out the hood, then welded back together. I purchased a Cone Engineering stainless steel Stubbie Can Muffler and welded a 4” 90-degree tube on the top and an extension on the bottom to make it look like the sled has a 4” Pipe. The pipe works, it is only a few feet from your head and it is unbelievably LOUD. Hearing protection is required to drive it. ROX Speed FX made a custom seat cover and back rest for the sled. We did it in a Diamond pattern to make it look like a hot rod and Grey / Black to match the body. A sealed trunk box made out of aluminum to hold tools will be added shortly. It is planned to be large enough to also hold 6 cans of hydration when done with a long ride. A friend from Dale’s Auto Body, Inc in Grand Rapids MN spent 15 hours cleaning up my poor attempt at fiber glassing and then he straightened out the body lines. He applied filler, 2 coats of paint, and 2 coats of clear top coat. We stayed with a dark primer gray to keep the hot rod look. I added black vents for the grill and painted the front springs to add uniformity to the look. Rob, at Blown Concepts made the custom decals to put on the trunk and sides, this was the final touch that completed the look. The sled is still a work in process, it is fully functional, very fast, and very loud. It is everything a person wants in a winter HOT ROD.


4 Comments
Looks super original and fun! Great job!!
That’s one way to make a Polaris look good🤣🤣🤣, Kidding aside it looks awesome
Excellent work! One of a kind! Congratulations Brede!
5